Your dog deserves a toy that’s built to last, and this crochet dog tug toy pattern delivers just that. You’ll create a durable, machine-washable toy using sturdy yarn and simple crochet stitches that even beginners can master. This toy features braided handles on both ends, perfect for interactive play and tug-of-war games with your furry friend.
Pattern Overview
This crochet dog tug toy pattern creates a rope-style toy with two braided handles at each end. The main body consists of three braided strands twisted together to form a sturdy center section, while each end features a woven handle that gives you and your dog something to grip. The entire toy comes together quickly and uses basic crochet techniques like single crochet and chain stitches.
Skill Level
Beginner to easy. You need to know how to chain, single crochet, and cut yarn. No increases, decreases, or color changes required. The braiding and handle assembly happen after you crochet the main strands.
Finished Size
The finished toy measures roughly 14 inches long, including handles. The three main strands measure about 10 inches before braiding, and each handle adds approximately 2 inches on each end. You can easily adjust the length by making the strands longer or shorter before braiding.
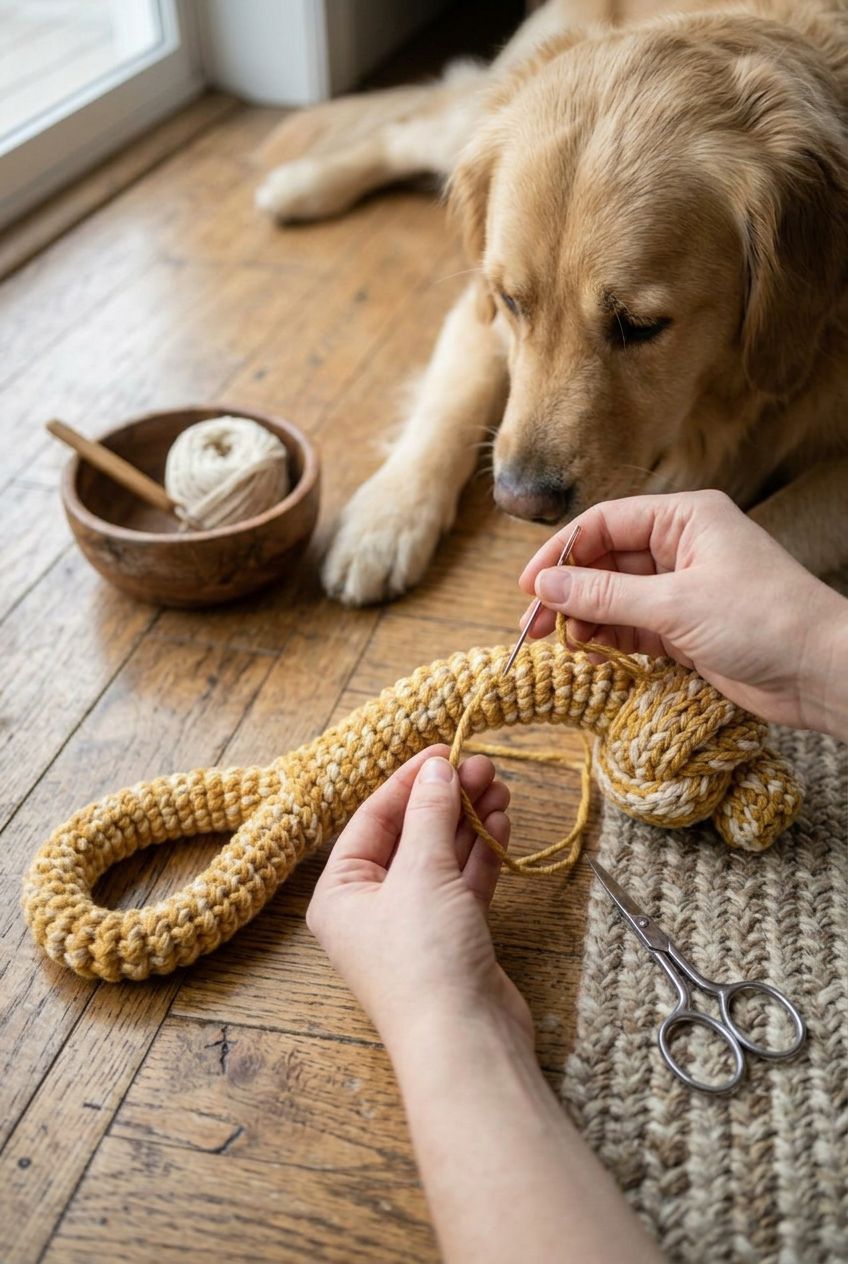
Materials
- Worsted weight yarn in one or two colors: 100 yards total (I recommend washable acrylic or cotton blend)
- Size H (5mm) crochet hook
- Yarn needle for weaving in ends and assembling
- Scissors
- Optional: stitch markers to help count stitches
Abbreviations
| Abbreviation | Meaning |
|---|---|
| ch | chain |
| sc | single crochet |
| st | stitch |
| sts | stitches |
| rnd | round |
| sl st | slip stitch |
| yo | yarn over |
Gauge
This pattern does not require specific gauge, since it’s a toy and slight variations won’t affect fit or function. However, you’ll want your stitches tight enough that toy stuffing or small objects can’t poke through later. Work your single crochet with firm, consistent tension for a durable fabric.
Pattern Notes
- Make three identical braided strands for the main body of this crochet dog tug toy pattern.
- Use a single color for a classic look, or alternate colors for each strand.
- Work tight stitches to create a dense, durable toy your dog won’t easily shred.
- All three strands should measure the same length before braiding.
- Weave in ends as you go to save time during finishing.
Crochet Pattern Instructions
First Braided Strand
- Ch 51 with your chosen color.
- Sc in second ch from hook and in each ch across (50 sts).
- Ch 1, turn.
- Sc in each st across (50 sts).
- Repeat row 4 until your piece measures approximately 10 inches. Fasten off, leaving a 6-inch tail for assembly.
You’ll now have a flat, crocheted rectangle. Don’t worry about it being perfectly even – slight variations add texture to the toy.
Second Braided Strand
Repeat the instructions for the first braided strand exactly. You now have two identical strands ready to braid.
Third Braided Strand
Repeat the instructions one more time. You should now have three crocheted rectangles, each measuring roughly 10 inches long and 2 inches wide.
Handle Creation
Before you braid the three strands together, you’ll create handles at each end.
- Take one crocheted strand and fold it in half widthwise.
- Ch 20 and sl st into the folded end to create a loop.
- Repeat this process for the other two strands at the same end.
- Repeat the entire handle creation process at the opposite end of all three strands.
You now have three strands with handles on both ends, ready to braid.
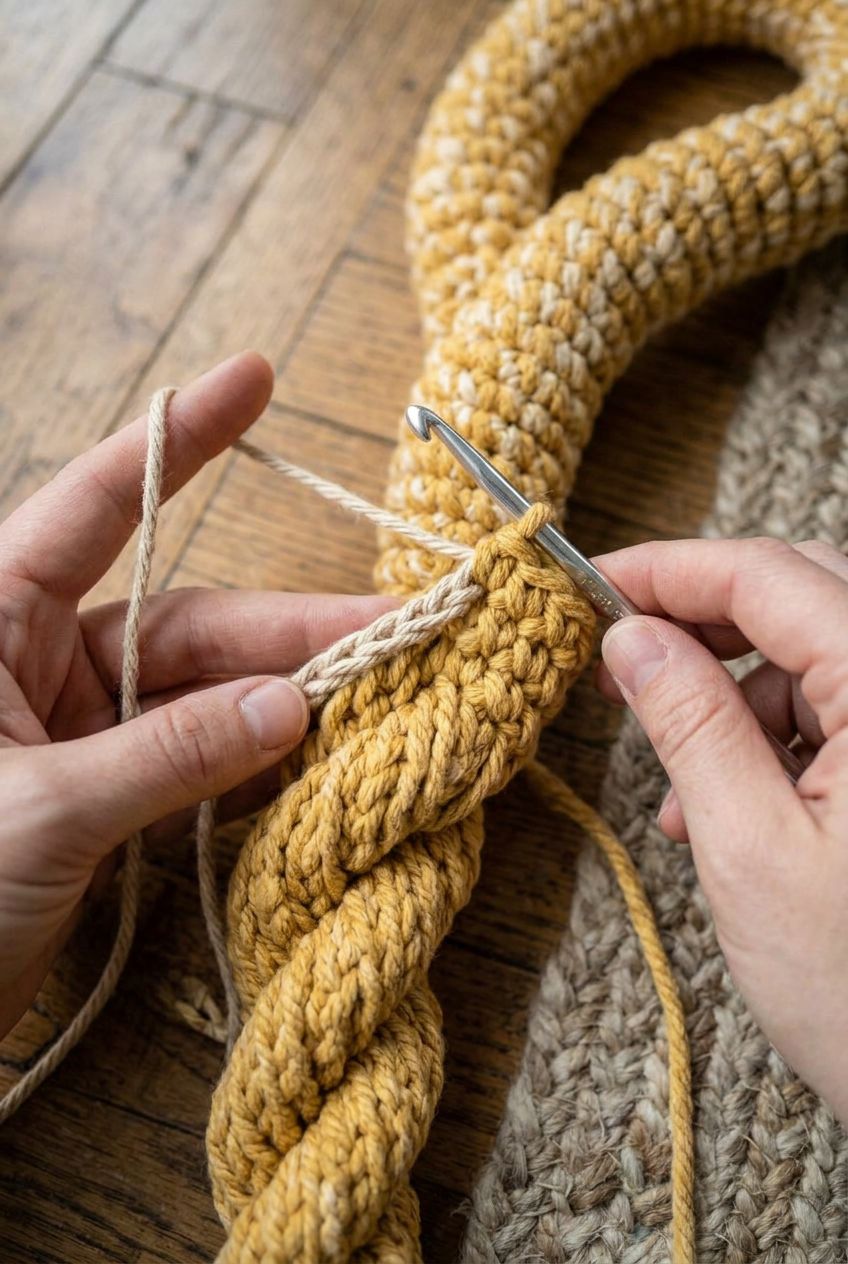
Braiding the Strands Together
- Lay all three strands flat and parallel to each other.
- Cross the right strand over the middle strand.
- Cross the left strand over the new middle strand.
- Cross the right strand over the new middle strand again.
- Continue this over-under pattern until you reach the handle end.
- Braid tightly but not so tight that you distort the handles.
- Repeat the braiding process for the opposite end.
The braiding takes just a few minutes and creates the signature tug toy look.
Assembly and Finishing
- Use your yarn needle to weave the long tails from each strand through the braided section for extra security.
- Weave several tails through both handle areas to strengthen them against tugging.
- Trim any remaining long tails, but leave about 1/4 inch to prevent unraveling.
- Inspect the entire toy for loose threads or weak spots and reinforce with extra yarn if needed.
- Give the toy a gentle tug test to make sure the braiding holds firm.
Customization Ideas
Two-Color Toy: Crochet two strands in one color and the third strand in a contrasting color. The braiding will create a striped pattern throughout the toy.
Shorter Version: Make the initial chains 35 stitches instead of 51, and crochet until your strands measure about 7 inches. This works well for small dogs.
Thicker Handles: Ch 30 instead of 20 when creating the handles for larger dogs that need a bigger grip space.
Chunky Weight Yarn: Use bulky yarn and a larger hook (size J or K) to create a heavier toy that’s faster to make. Adjust your chain count to maintain roughly the same finished width.
Textured Toy: Alternate rounds of single crochet and half double crochet for a bumpy, more engaging surface.
Care Instructions
This crochet dog tug toy pattern works best with machine-washable yarn. Wash in cold water on a gentle cycle, then lay flat to dry. Do not put the toy in the dryer, as heat can damage acrylic yarn. Check the toy weekly for loose threads or fraying and trim as needed.
Troubleshooting
Handles feel flimsy: Add extra yarn tails through the handle loops during assembly. You can also chain 25 or 30 instead of 20 to create larger, sturdier handles.
Braids look uneven: Don’t worry – dogs don’t mind imperfect braiding. If it bothers you, braid a bit more loosely or tightly until you find your rhythm.
Strands keep twisting while braiding: Pin each strand to your work surface with stitch markers or clothespins to keep them straight and parallel.
Single crochet stitches look loose: Tighten your tension by holding your yarn closer to the hook and pulling yarn through stitches more firmly.
One strand is shorter than the others: Crochet a few more rows on the shorter strand before braiding to match the length of the others.
Making your own crochet dog tug toy pattern means you control the yarn quality, size, and design. Your dog gets a safe, durable toy that’s customized just for them, and you get the satisfaction of creating something by hand that your pet will actually use and love. Start with the basic pattern, then experiment with colors and sizes until you find what works best for your furry friend.