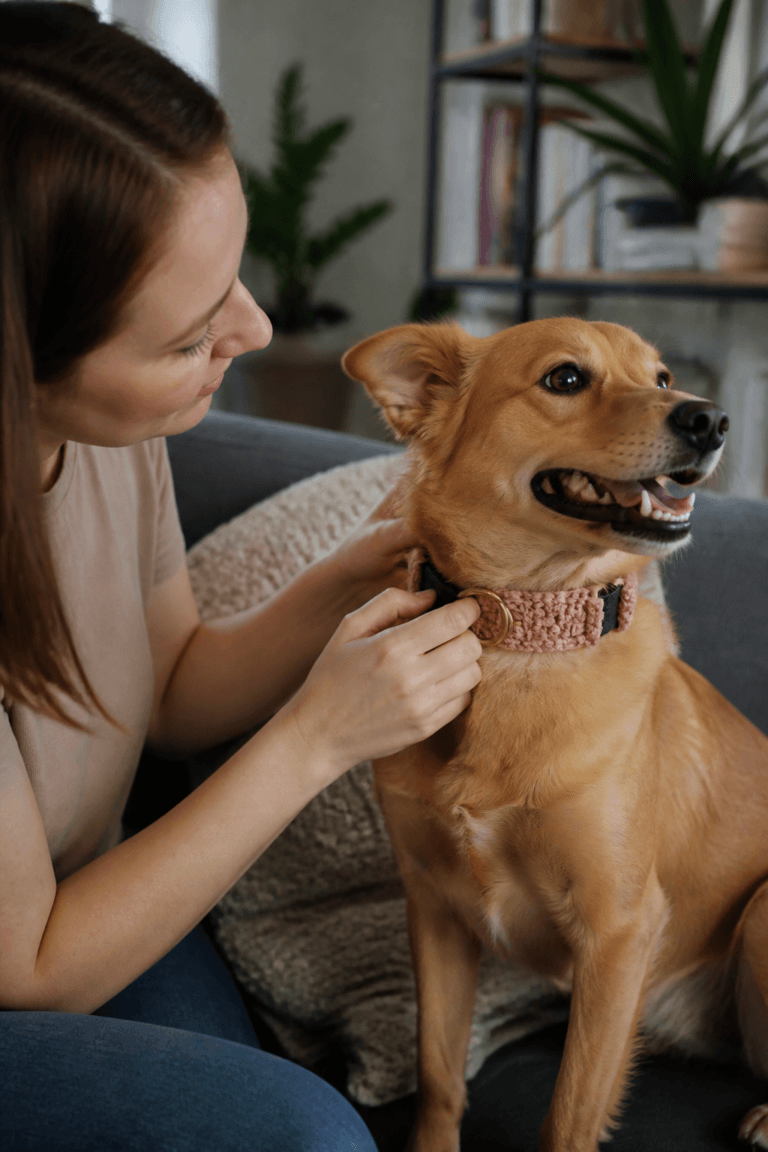
If you want to keep your furry friend safe and stylish during walks, this crochet dog harness pattern is exactly what you need. Making a custom harness lets you choose colors that match your dog’s personality, adjust the fit perfectly, and create something way more durable than most store-bought options. This beginner-friendly pattern works for small to medium dogs and takes just an afternoon or two to complete.
Pattern Overview
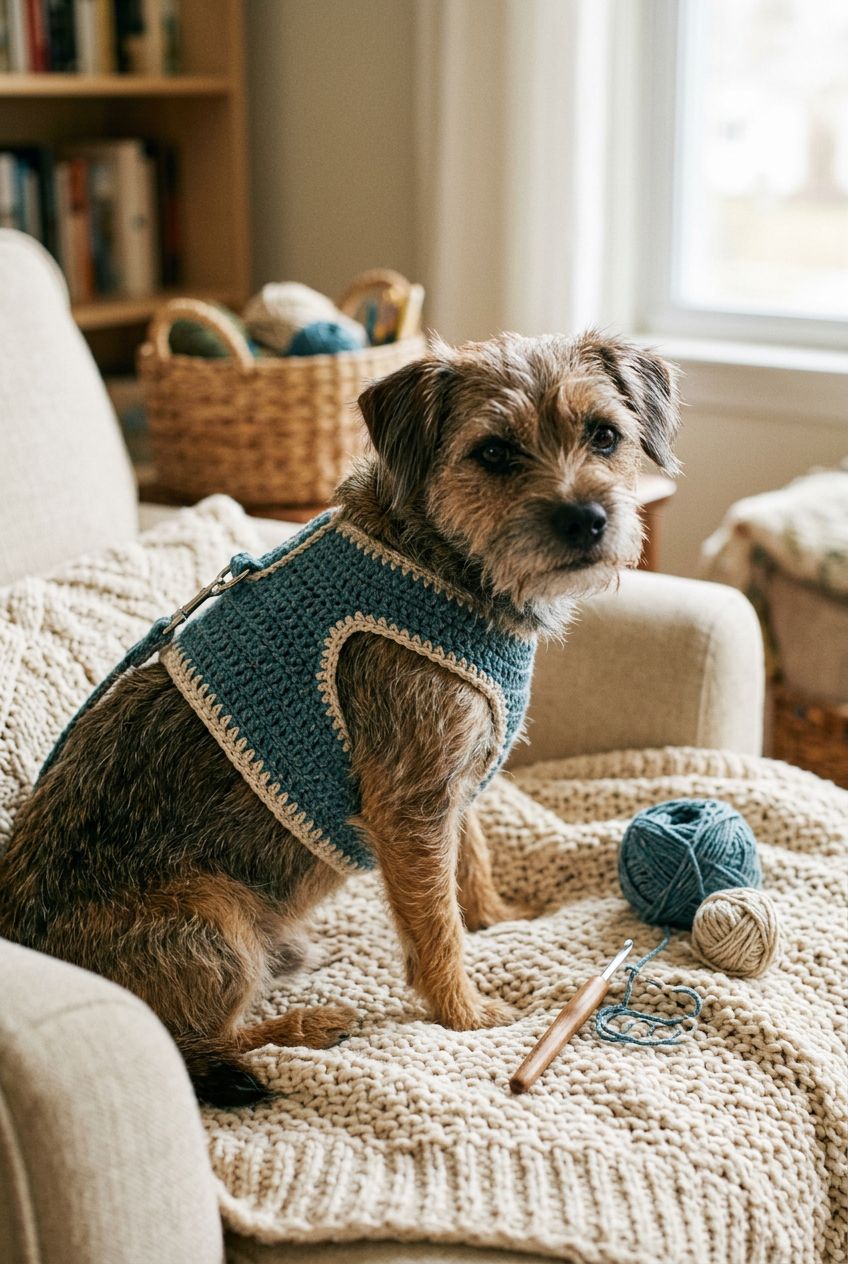
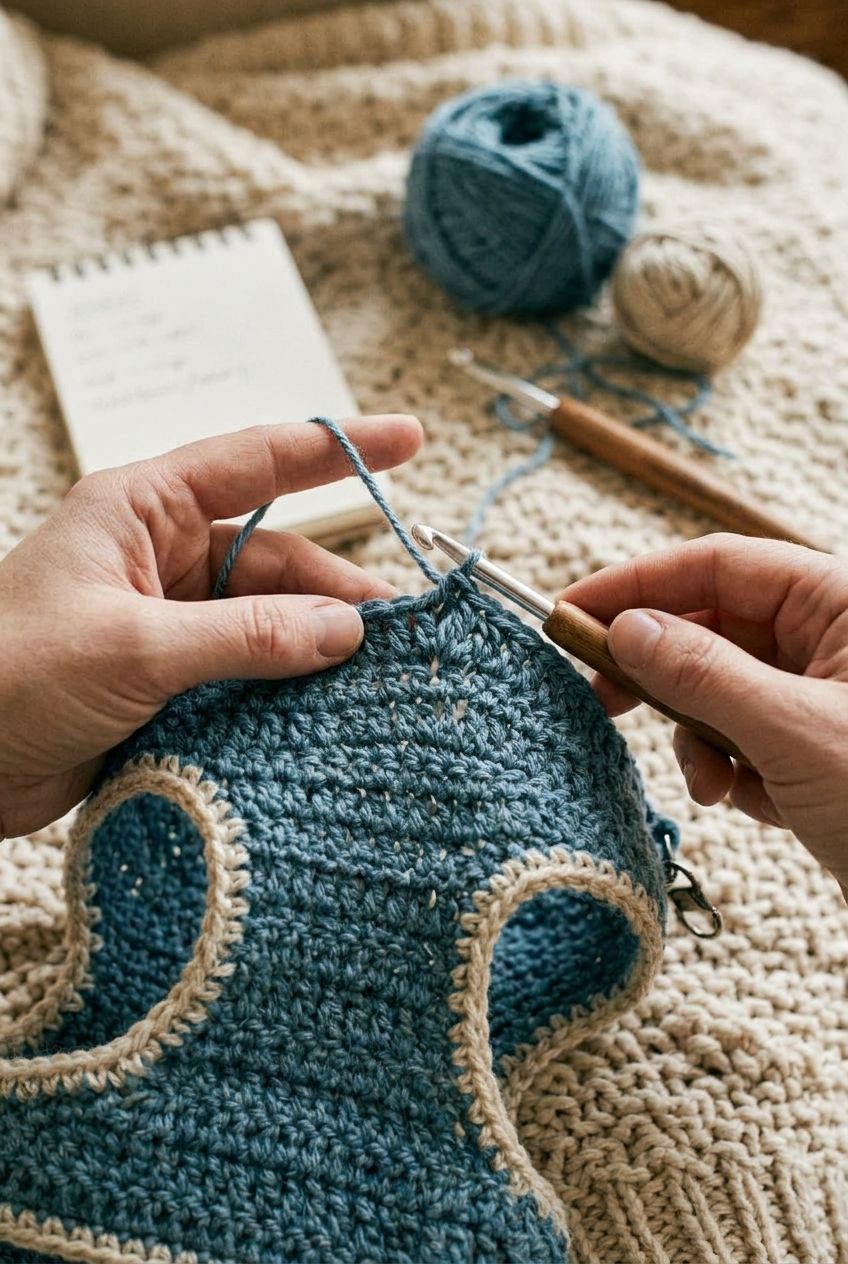
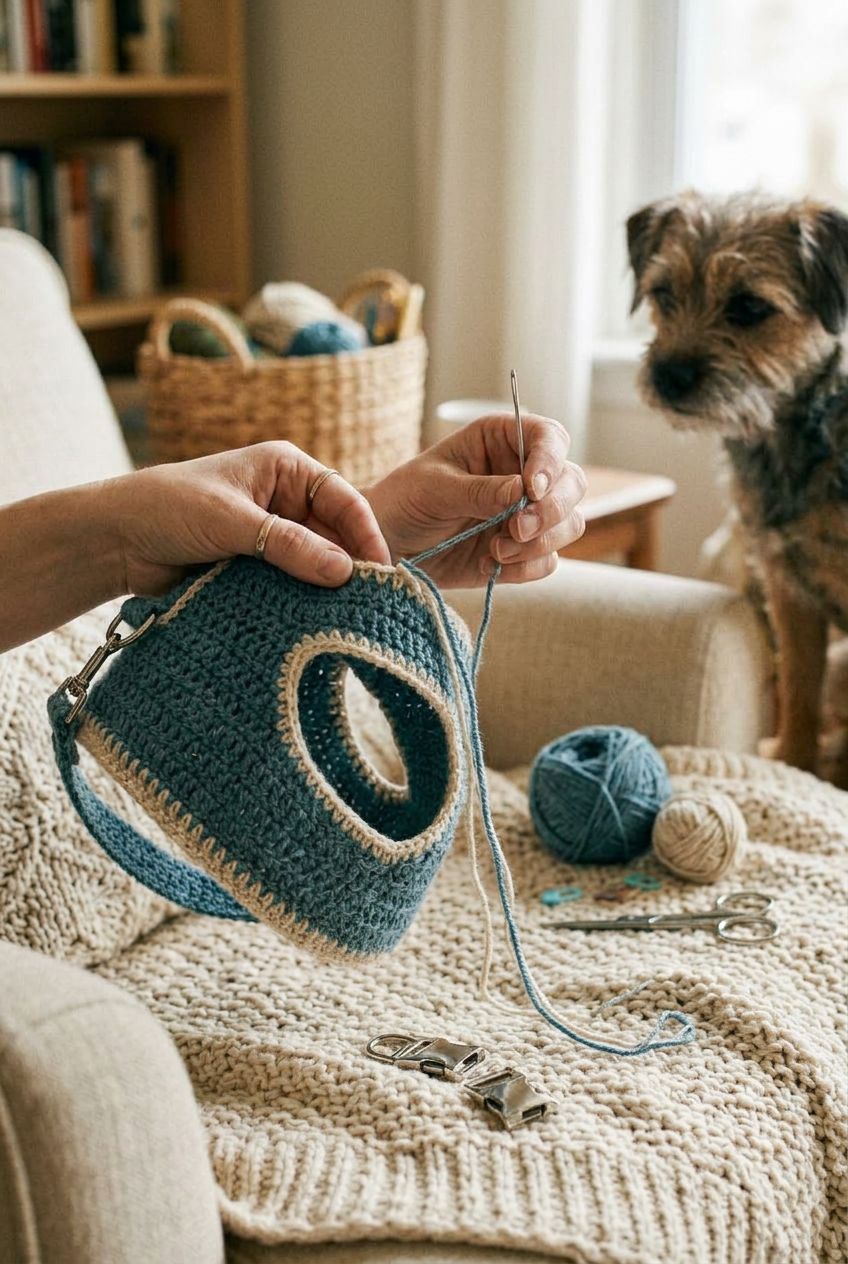
This crochet dog harness pattern creates a simple, effective harness that wraps around your dog’s body and neck for secure, comfortable control during walks. The design features a main body piece that slides over your dog’s head, two straps that cinch around the chest and belly, and adjustable closures with buttons or hooks. You can wear this harness alone or attach a leash directly to the reinforced D-ring loop at the back. The pattern works best for dogs weighing between 5 and 30 pounds, and you can easily scale it up or down based on your dog’s measurements.
Skill Level
This crochet dog harness pattern is best suited for beginners to easy intermediate crocheters. You will need to know how to make single crochet, double crochet, and chain stitches. The pattern uses basic shaping through increases and decreases, but nothing fancy or complex. If you have completed a simple sweater or baby blanket before, you have all the skills you need.
Finished Size
The finished harness fits dogs with a chest circumference of 10 to 16 inches and a neck measurement of 8 to 12 inches. These measurements assume a medium-weight yarn and a standard 5.5 mm crochet hook. If you use a heavier or lighter yarn, your finished harness will be larger or smaller. Always measure your dog’s neck and chest before you start, and compare those measurements to the pattern schematic. You can adjust the number of chains or add/remove rows to customize the fit for your specific dog.
Materials
- Worsted weight yarn in your chosen color, approximately 150 to 200 yards (small dogs need less, larger dogs need more)
- Size 5.5 mm (I/9) crochet hook
- Two 1-inch buttons or self-adhesive hook and loop fastener squares
- One 1/2-inch metal D-ring
- Yarn needle for weaving in ends
- Scissors
- Stitch markers
- Measuring tape
- Optional: embroidery floss for decorative details, contrasting yarn for trim
Abbreviations
| Abbreviation | Definition |
|---|---|
| ch | chain |
| sc | single crochet |
| dc | double crochet |
| inc | increase (work 2 stitches in 1 stitch) |
| dec | decrease (single crochet 2 together) |
| sl st | slip stitch |
| st(s) | stitch(es) |
| rnd | round |
| row | row |
| sp | space |
Gauge
This pattern works best with a gauge of 14 single crochets and 14 rows over 4 inches (10 cm) worked in single crochet with worsted weight yarn and a 5.5 mm hook. Gauge matters for this harness because the fit needs to be snug enough to stay in place but loose enough for your dog to move comfortably and breathe. Check your gauge by crocheting a small swatch in single crochet, blocking it gently, measuring a 4-inch square, and counting your stitches. If your gauge is too loose, switch to a smaller hook. If your gauge is too tight, go up a hook size.
Pattern Notes
- This pattern uses the continuous round method for the harness body, so use a stitch marker to mark the beginning of each round.
- Measure your dog’s neck and chest before you begin. The pattern gives instructions for a medium dog, but you can adjust the starting chain length to fit your dog perfectly.
- Work loosely enough that you can easily slip your fingers between the harness and your dog’s body when finished. The harness should not be tight.
- All instructions are given in US crochet terminology.
- Optional: use a lighter yarn color for trim or contrast stripes if you want a two-tone look.
Crochet Pattern Instructions
Main Body Panel
The main body panel forms the back and sides of the harness. This piece wraps around your dog’s torso.
- Ch 24 to start (adjust this number up or down by 2 stitches depending on your dog’s chest size).
- Rnd 1: Sc in second ch from hook and in each ch across, ch 1, turn. Work 23 sc. (23 sc)
- Rnd 2: Sc in each st across, ch 1, turn. (23 sc)
- Rnd 3: Sc in first 8 sts, inc in next st, sc in next 6 sts, inc in next st, sc in last 8 sts, ch 1, turn. (25 sc)
- Rnd 4 and 5: Sc in each st across, ch 1, turn. (25 sc)
- Rnd 6: Sc in first 9 sts, inc in next st, sc in next 6 sts, inc in next st, sc in last 9 sts, ch 1, turn. (27 sc)
- Rnd 7 and 8: Sc in each st across, ch 1, turn. (27 sc)
- Fasten off and weave in ends. Your main body panel should measure roughly 3 inches tall and 4.5 inches wide.
Neck Opening Shaping
The neck opening lets your dog’s head slip through the harness.
- Skip the first 6 stitches of your completed body panel (these will form the side seam).
- Rejoin yarn to the 7th stitch.
- Ch 1, sc in the next 15 sts. (15 sc across the front)
- Turn and work 8 more rows of sc, decreasing 1 stitch on each end every other row to shape the neck hole.
- Row 1: Dec, sc in next 13 sts, dec, ch 1, turn. (13 sc)
- Row 2: Sc in each st across, ch 1, turn. (13 sc)
- Row 3: Dec, sc in next 11 sts, dec, ch 1, turn. (11 sc)
- Row 4: Sc in each st across, ch 1, turn. (11 sc)
- Fasten off. Your neck opening should be roughly 2 to 2.5 inches wide and fit snugly around your dog’s neck.
Belly Strap
The belly strap cinches around your dog’s underside and keeps the harness from sliding backward.
- Ch 32 (adjust for smaller or larger dogs).
- Row 1: Sc in second ch from hook and in each ch across, ch 1, turn. (31 sc)
- Row 2 through 5: Sc in each st across, ch 1, turn. (31 sc)
- Fasten off, leaving a long tail for sewing. This strap should measure roughly 4.5 inches long and 1.2 inches wide.
Chest Strap
The chest strap wraps around the widest part of your dog’s chest and attaches to the main body.
- Ch 36 (adjust for your dog’s size).
- Row 1: Sc in second ch from hook and in each ch across, ch 1, turn. (35 sc)
- Row 2 through 4: Sc in each st across, ch 1, turn. (35 sc)
- Fasten off, leaving a long tail for sewing. This strap should measure roughly 5 inches long and 1 inch wide.
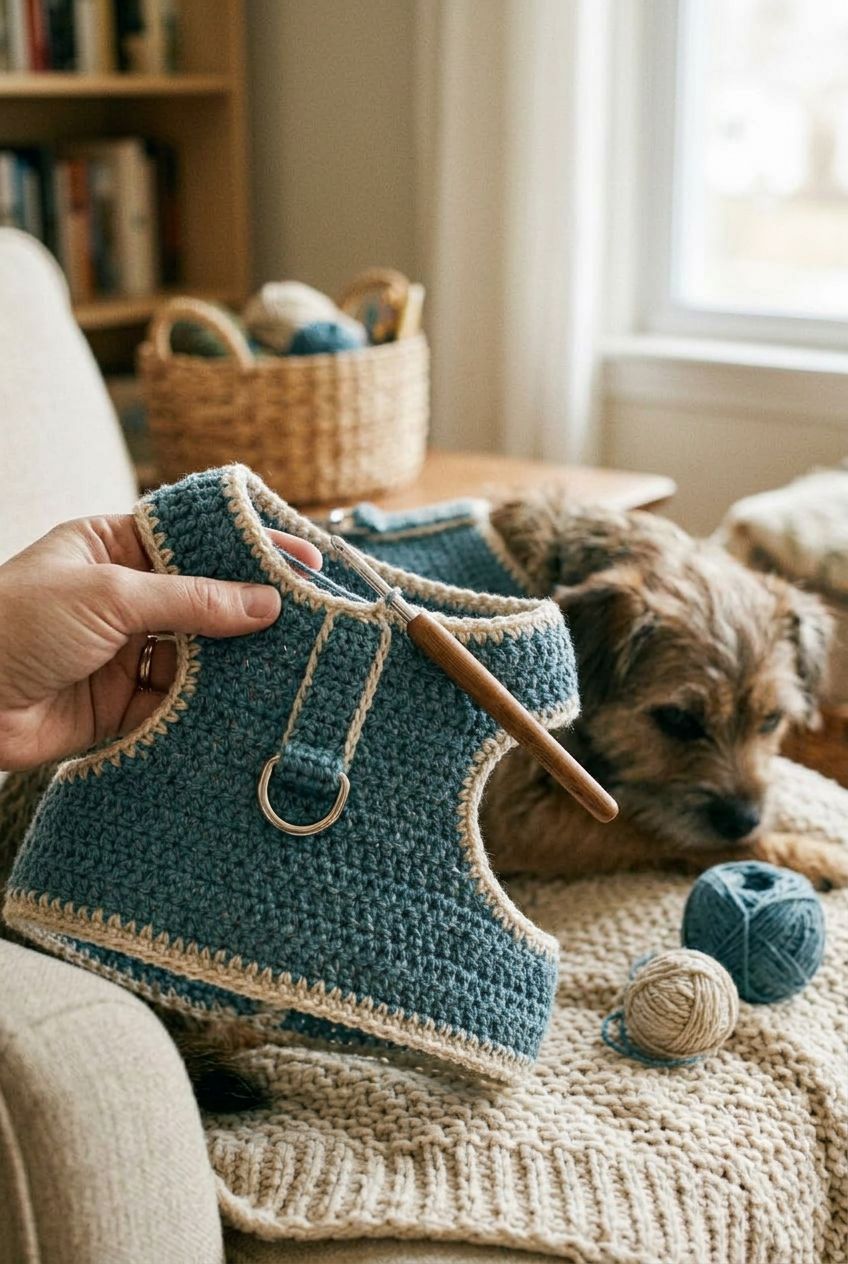
D-Ring Loop
This small loop holds your leash attachment.
- Ch 8.
- Sc in second ch from hook and in each ch across. (7 sc)
- Work 2 more rows of sc in each st.
- Fold the loop in half and sew the edges together. Slide your D-ring onto the loop before fully closing it. Weave in ends.
Assembly and Finishing
- Lay out your main body panel flat with the neck opening facing up.
- Position the D-ring loop at the back center of the body panel, roughly in the middle between the neck opening and the bottom edge. Sew it securely in place with your yarn needle and matching yarn.
- Attach the chest strap by sewing both long edges of the strap to the front sides of the main body panel, roughly 1.5 inches below the neck opening. Make sure the strap is centered and sits evenly on both sides.
- Attach the belly strap by sewing both long edges to the lower portion of the main body panel, roughly 1.5 inches above the bottom edge. This strap should sit directly under the chest strap.
- At the loose end of the belly strap, sew on one button or one side of your hook and loop fastener. Sew the matching button or fastener piece to the opposite end of the same strap so it can cinch closed.
- Do the same with the chest strap. This gives you two independent closure points for a secure fit.
- Try the harness on your dog and adjust button placement as needed. Your dog should be able to move freely with at least one finger’s width of space between the harness and their body.
- Weave in any remaining ends.
Customization Ideas
You can easily modify this crochet dog harness pattern to suit your style and your dog’s needs. Try working the body panel and straps in two contrasting colors for a bold look. Add a single crochet edging in a bright trim color around the neck opening for extra durability and visual interest. If your dog is particularly small or large, scale the starting chain up or down by 2 to 4 stitches and adjust strap lengths to match. You can also switch to a lighter yarn weight and smaller hook for a dog under 10 pounds, or use a heavier yarn for a large dog over 25 pounds. Embroider your dog’s initials or a simple design on the back panel for a personalized touch.
Care Instructions
Gently hand wash your crochet dog harness in cool water with mild soap. Squeeze out excess water without wringing. Lay flat to dry or hang to dry indoors, away from direct heat or sunlight. Do not machine wash or dry. If the buttons get loose, simply tighten them or replace them. If the yarn develops pilling from regular wear, gently brush it with a soft brush or lint roller. Check the harness regularly for loose stitches or worn areas, especially around the D-ring and closure points. Repair any loose ends by weaving them back in with your yarn needle.
Troubleshooting
The harness is too tight around the neck. Rip back the neck opening shaping rows and work fewer decreases. Your dog should slip their head through easily with just a little resistance. A tight neck can choke your dog or cause discomfort.
The harness slides backward when your dog walks. Make sure your belly strap is cinched snugly and positioned correctly. If the strap keeps loosening, sew the button or fastener closure slightly higher on the strap so it holds tighter.
The yarn is splitting or breaking as you work. Check that your hook size matches the yarn weight. Worsted weight yarn works best with a 5.5 mm hook. If you are using a very fluffy yarn, go up one hook size.
Stitches look uneven or loose. Count your stitches at the end of each row and make sure you are not accidentally adding or dropping stitches. Weave in ends more carefully so they do not affect nearby stitches.
The harness is too loose and gaps form. Tighten your tension slightly as you work the next harness. You can also go down one hook size, which will make your stitches tighter and smaller.
The D-ring spins or rotates during wear. Sew the loop more securely to the body panel using multiple passes with your yarn needle. You can also add a small square of non-slip fabric glue to the back of the D-ring loop before sewing.
Making a crochet dog harness pattern gives you complete control over fit, color, and comfort for your beloved pet. This beginner-friendly project teaches you practical shaping techniques while creating something your dog will actually wear and love. Start with the measurements and colors suggested here, then customize as you gain confidence. Your dog will be safer, more stylish, and ready for any adventure.