Crocheting a hat for your dog is a fun and practical project.
A dog hat crochet pattern helps you create a warm accessory for cold walks or cute photo sessions.
In this guide, we will cover everything from choosing yarn to finishing the hat.
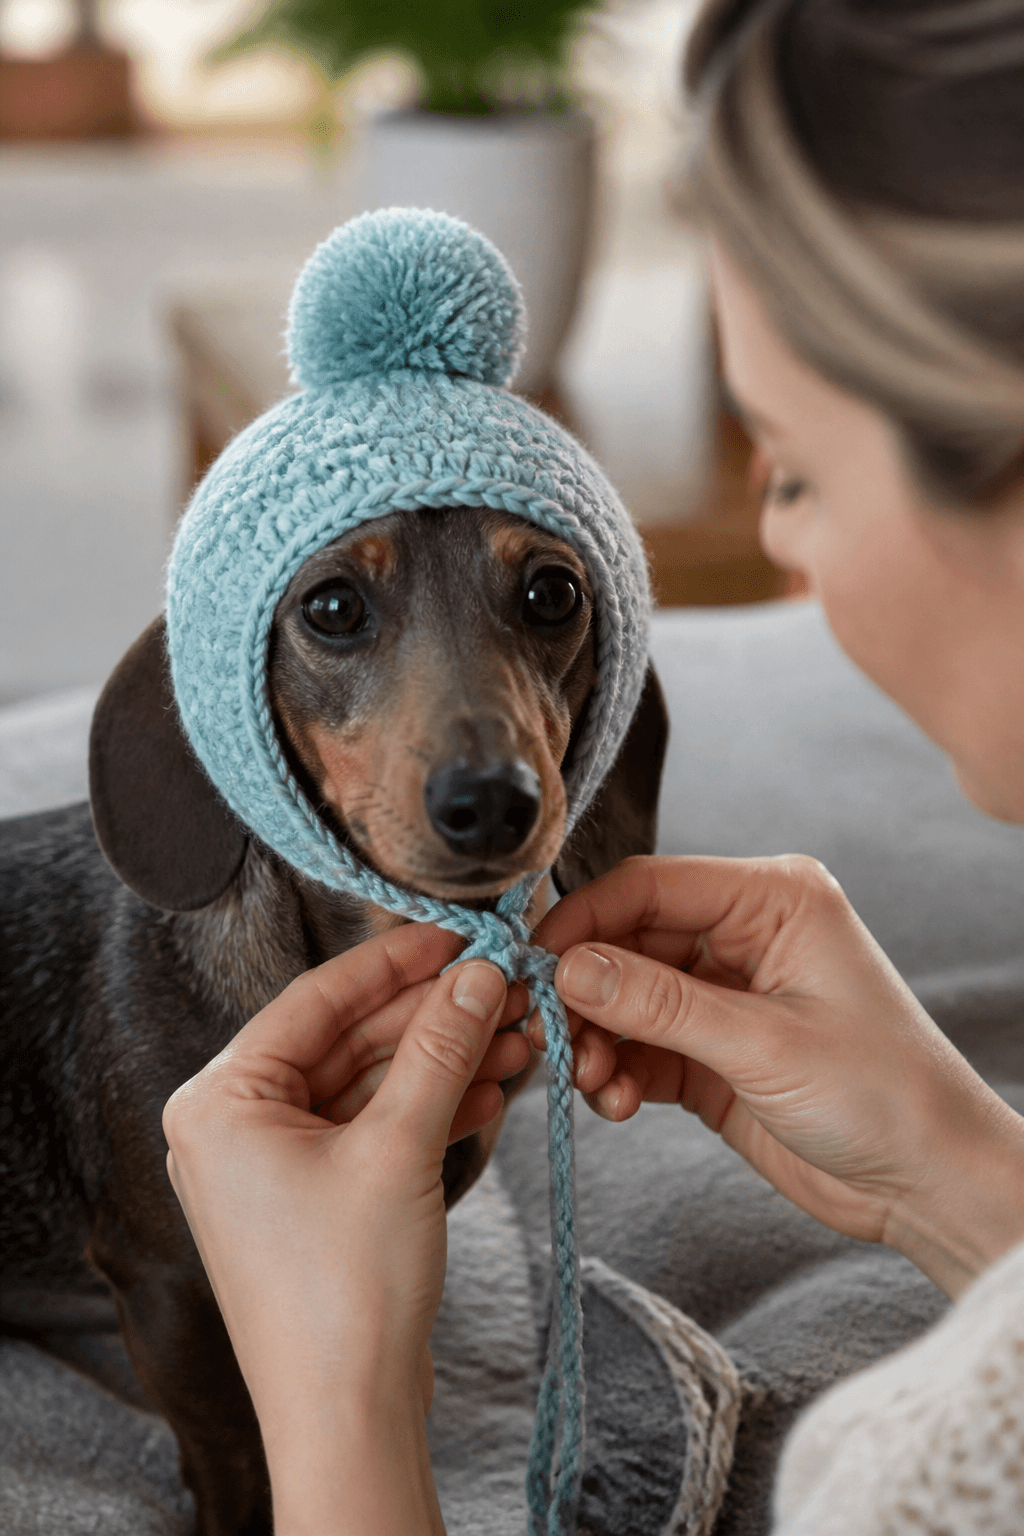
Materials Needed for a Dog Beanie Crochet Pattern
Before you start, gather the right supplies. Using proper materials makes the project easier and the hat more comfortable for your pet.
Essential supplies:
- Worsted weight yarn in your chosen color
- Crochet hook size H (5.0 mm) or size needed for gauge
- Tapestry needle for weaving ends
- Scissors
- Stitch markers to track rounds
- Measuring tape for your dog’s head
Yarn selection tips:
- Choose acrylic or cotton yarn for easy washing
- Avoid fuzzy or mohair yarn that can irritate eyes
- Pick a light color so you can see your stitches
- Use machine washable yarn for convenience
Understanding Dog Head Measurements
Getting the right size is key for a comfortable hat. Measure your dog’s head before you start crocheting.
How to measure your dog:
- Use a soft measuring tape
- Wrap it around the widest part of the head
- Go just above the eyes and below the ears
- Write down the measurement in inches
Standard dog hat sizes:
| Size | Head Circumference | Hat Height |
|---|---|---|
| X Small | 8 to 10 inches | 4 inches |
| Small | 10 to 12 inches | 5 inches |
| Medium | 12 to 14 inches | 6 inches |
| Large | 14 to 16 inches | 7 inches |
| X Large | 16 to 18 inches | 8 inches |
Basic Stitches for a Crochet Dog Hat Pattern
You only need a few simple stitches to make this hat. Even beginners can follow this pattern.
Stitches you need to know:
- Chain stitch (ch)
- Single crochet (sc)
- Half double crochet (hdc)
- Slip stitch (sl st)
- Increase (inc) which is 2 sc in one stitch
Step by Step Dog Hat Crochet Pattern
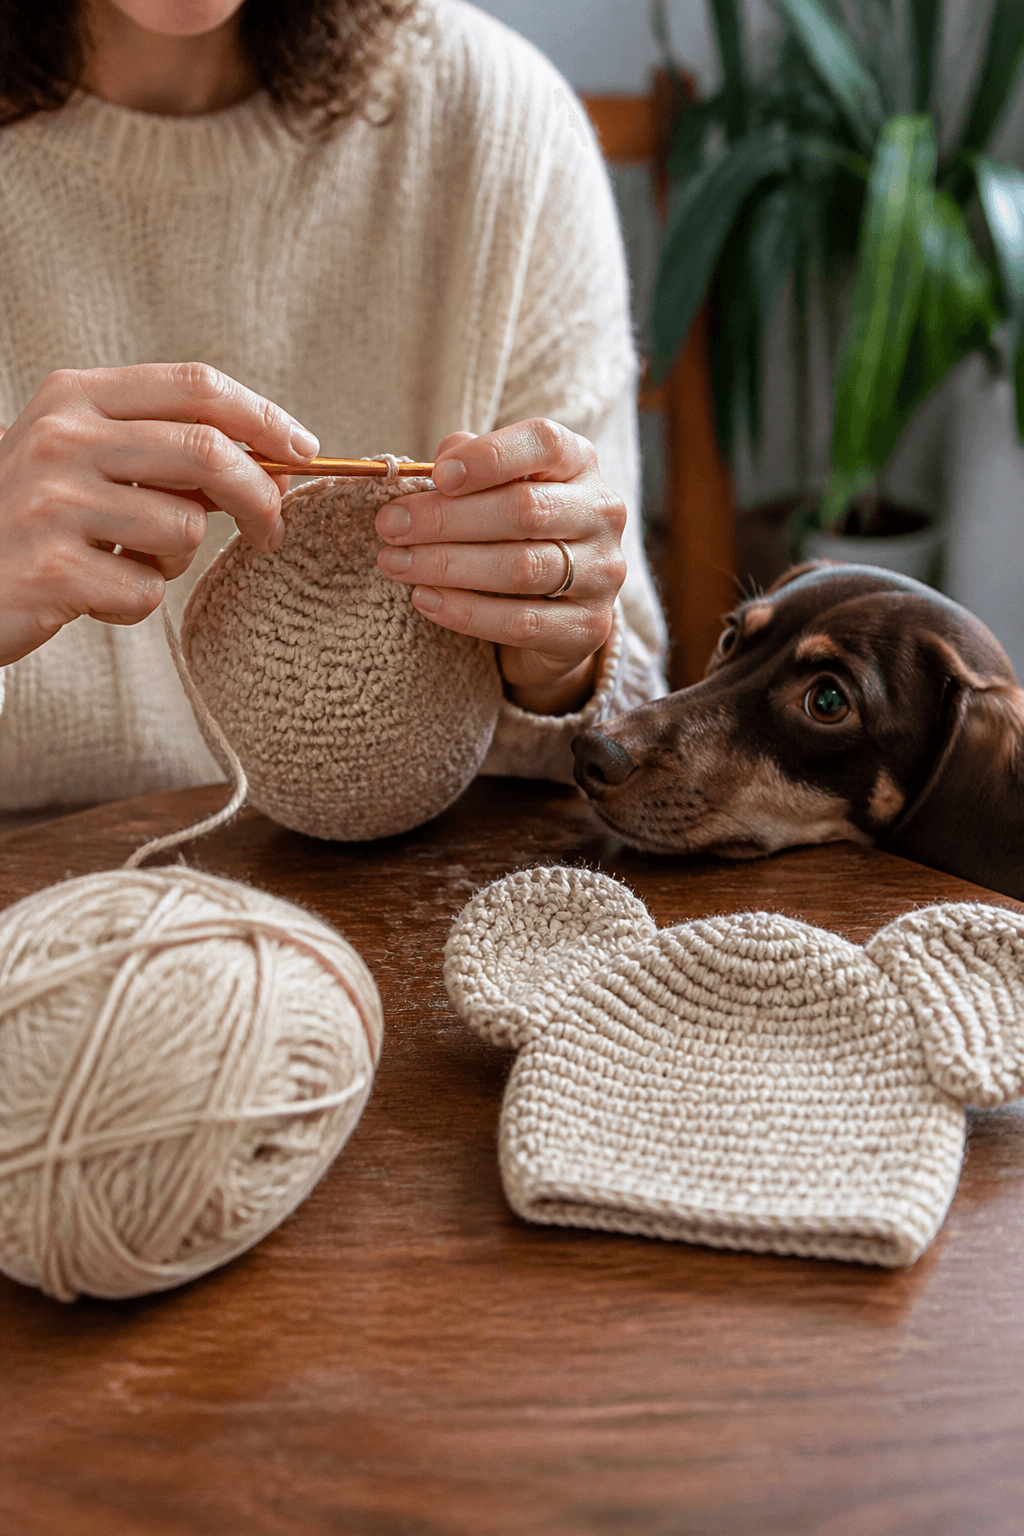
This pattern creates a basic beanie style hat. It fits most small to medium dogs. Adjust the starting chain for larger dogs.
Start the Hat Top
Begin at the top of the hat. This creates a rounded shape that fits the head.
Round 1: Make a magic ring. Work 6 sc into the ring. Pull tight and join with a sl st. (6 stitches)
Round 2: Ch 1. Work 2 sc in each stitch around. Join with a sl st. (12 stitches)
Round 3: Ch 1. Sc in next stitch, 2 sc in next stitch. Repeat from * to * around. Join. (18 stitches)
Round 4: Ch 1. Sc in next 2 stitches, 2 sc in next stitch. Repeat around. Join. (24 stitches)
Round 5: Ch 1. Sc in next 3 stitches, 2 sc in next stitch. Repeat around. Join. (30 stitches)
Continue Increasing
Keep adding rounds until the hat is wide enough for your dog’s head.
Round 6: Ch 1. Sc in next 4 stitches, 2 sc in next stitch. Repeat around. Join. (36 stitches)
Round 7: Ch 1. Sc in next 5 stitches, 2 sc in next stitch. Repeat around. Join. (42 stitches)
Round 8: Ch 1. Sc in next 6 stitches, 2 sc in next stitch. Repeat around. Join. (48 stitches)
Check the fit: Place the work on your dog’s head. The circle should cover the top of the head without stretching. Stop increasing when it fits well.
Work the Hat Body
Once the top is wide enough, stop increasing. Work straight rounds to create the sides.
Body rounds:
- Ch 1 at the start of each round
- Work 1 sc in each stitch around
- Join with a sl st at the end
- Repeat until the hat is the correct height
Height guide:
- Small dogs need about 4 to 5 inches total
- Medium dogs need about 5 to 6 inches total
- Always measure from the top of the head to just above the ears
Add the Ear Holes
Dogs need their ears free. Adding ear holes makes the hat more comfortable.
How to create ear holes:
- Try the hat on your dog
- Mark where the ears sit with stitch markers
- On the next round, skip stitches where the ears go
- Chain the same number of skipped stitches
- Continue crocheting around
Example for small dog:
- Work sc to first ear marker
- Chain 4, skip 4 stitches
- Work sc to second ear marker
- Chain 4, skip 4 stitches
- Work sc to end of round
Finish the Hat Edge
A finished edge looks neat and stays in place. Use a simple border.
Border options:
- Single crochet border: Work one round of sc around the bottom edge
- Ribbed edge: Work back loop only sc for a stretchy finish
- Picot edge: Add small loops for a decorative look
Tips for a Successful Crochet Dog Hat
Small details make a big difference in the final product. Follow these tips for the best results.
Key tips:
- Use a stitch marker at the start of each round
- Count your stitches after each round
- Check the fit often while working
- Make the hat slightly snug but not tight
- Weave in ends securely so your dog cannot pull them
Adding Decorations to Your Dog Beanie Crochet Pattern
You can customize the hat with simple decorations. Keep safety in mind when adding extras.
Safe decoration ideas:
- Pom poms made from the same yarn
- Buttons sewn on very tightly
- Embroidered initials or shapes
- Faux fur trim around the edge
- Braided ties under the chin
Safety warnings:
- Avoid small parts that can be chewed off
- Do not use glue that can irritate skin
- Keep decorations away from the dog’s eyes
- Remove the hat when unsupervised
Common Mistakes in Crochet Dog Hat Patterns
Avoid these errors to save time and yarn. Even experienced crocheters make these mistakes.
Mistakes to avoid:
- Making the hat too loose so it falls over the eyes
- Using scratchy yarn that bothers the dog
- Skipping the ear holes which causes discomfort
- Not checking gauge before starting
- Weaving ends poorly so they come undone
How to Care for a Crochet Dog Hat
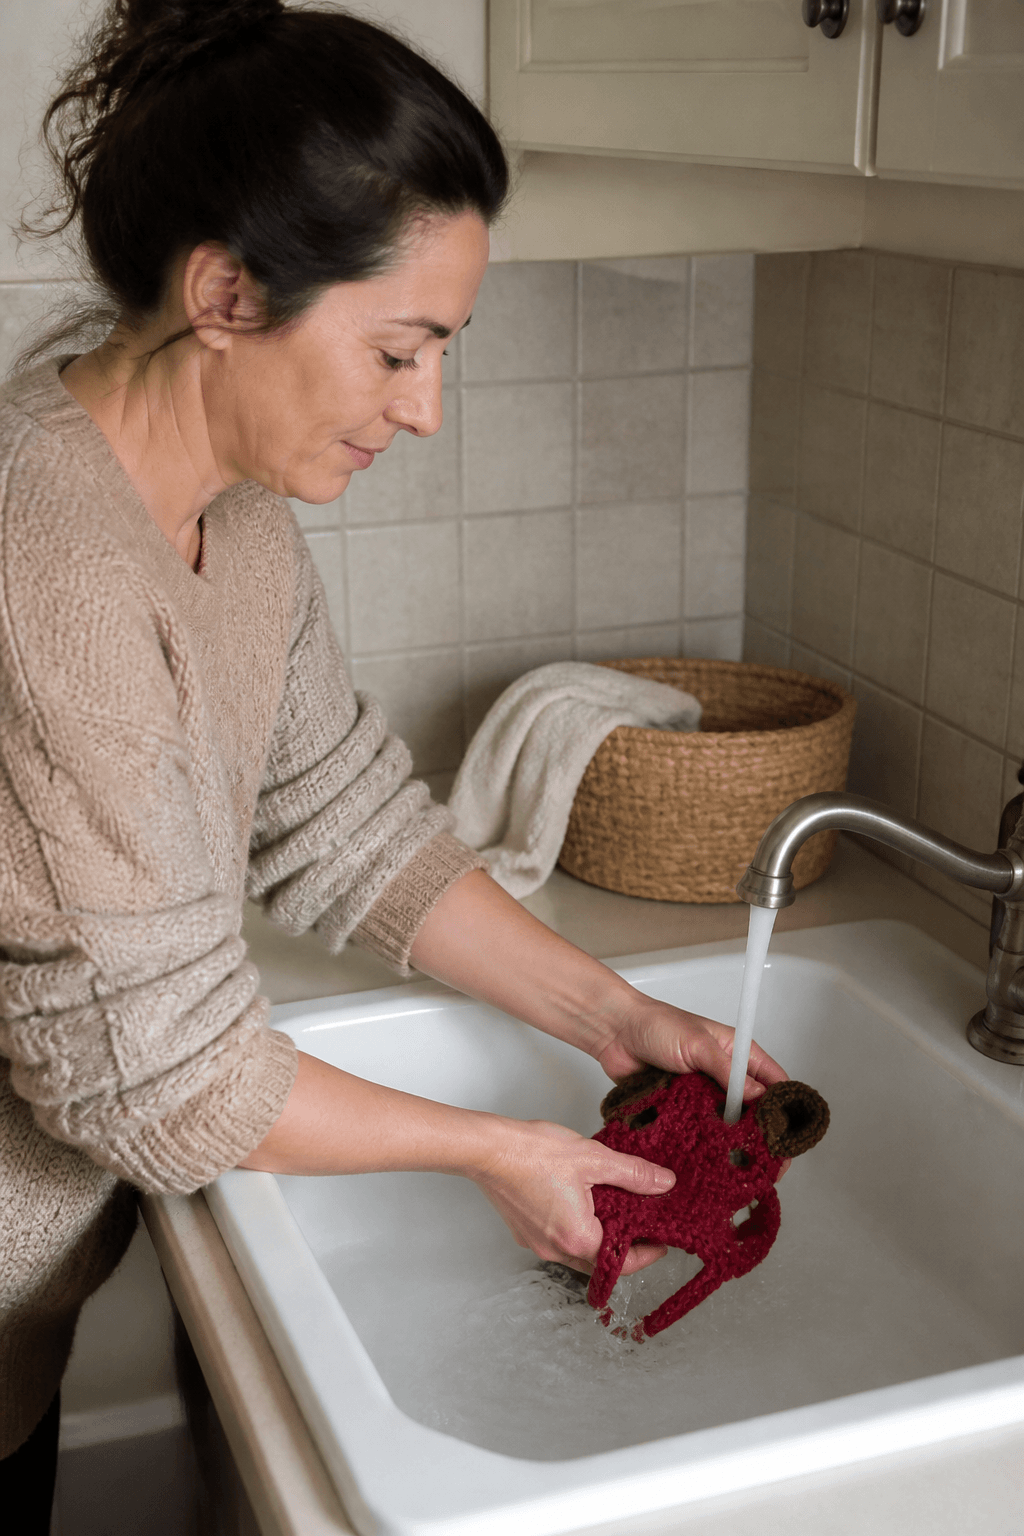
Proper care keeps the hat looking nice and lasting longer. Follow these simple steps.
Washing instructions:
- Hand wash in cool water with mild soap
- Rinse thoroughly to remove all soap
- Lay flat to dry away from direct heat
- Do not wring or twist the hat
- Machine wash on gentle cycle if using acrylic yarn
Storage tips:
- Keep in a dry place away from moths
- Store flat to maintain shape
- Check for loose threads before each use