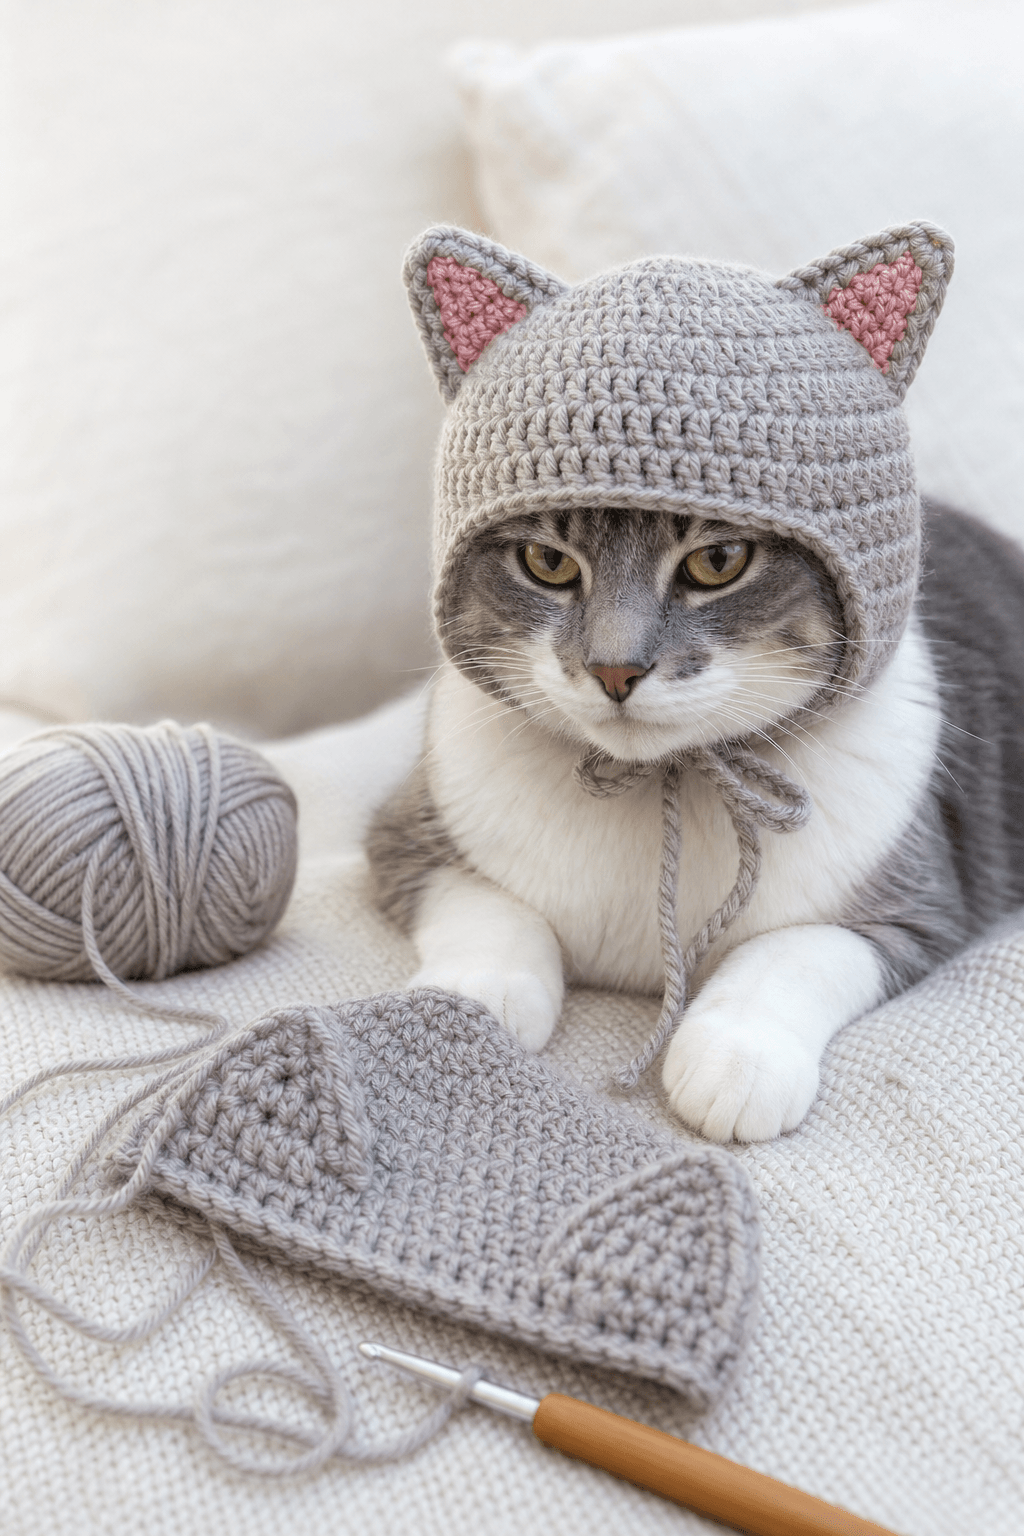
Ready to make an adorable cat hat that will have everyone smiling? This crochet cat hat pattern walks you through every step to create a cozy, playful hat with pointed ears, a sweet face, and plenty of room for customization. Whether you’re making it for a child, a cat lover, or just want to add something fun to your crochet projects, this pattern delivers a finished hat that’s equal parts cute and wearable.
Pattern Overview
This crochet cat hat pattern creates a classic beanie-style hat topped with two pointed ears and embellished with a simple face. The hat sits comfortably on the head, and the ears add personality without making it uncomfortable to wear. The construction uses basic stitches worked in rounds, making it quick to finish. You can size it for babies, toddlers, kids, or adults simply by adjusting yarn weight and hook size or by adding or removing rounds.
Skill Level
Beginner to Easy. This crochet cat hat pattern uses only single crochet and half double crochet stitches, and the construction is straightforward. If you can work in the round and increase or decrease stitches, you have the skills needed. Beginners can complete this project in an afternoon or two.
Finished Size
The finished hat measures approximately 16-18 inches around the head (unstretched) and sits about 6 inches tall without ears. This size fits most toddlers and children ages 2-8. To adjust for adults or babies, use a heavier or lighter yarn weight, or add/remove 2-3 rounds before the crown shaping. Finished measurements depend on your gauge and the yarn weight you choose.
Materials
- Yarn: Worsted weight yarn in main color (approximately 150-200 yards) and small amounts in contrasting colors for ears, eyes, nose, and mouth. Popular choices include Caron Simply Soft or Lion Brand Vanna’s Choice.
- Hook: US size H/8 (5mm) or I/9 (5.5mm), depending on your tension and yarn choice.
- Notions: Yarn needle for weaving in ends and sewing on embellishments, stitch marker, scissors.
- Optional supplies: Safety eyes or embroidery floss for eyes, small pom-pom for nose, small bells, or other embellishments you want to add for personality.
Abbreviations
| Abbreviation | Meaning |
|---|---|
| ch | chain |
| sc | single crochet |
| hdc | half double crochet |
| sl st | slip stitch |
| st(s) | stitch(es) |
| rnd(s) | round(s) |
| inc | increase |
| dec | decrease |
| sk | skip |
| st sp | stitch space |
Gauge
Work 12 single crochet stitches and 12 rows in single crochet to measure 4 inches square using your chosen hook size and yarn. Gauge matters for this crochet cat hat pattern because it determines the finished size and how well the hat fits. If your gauge is tighter than 12 sts = 4 inches, the hat will be smaller, and you may need to go up a hook size. If your gauge is looser, the hat will be larger and may stretch out during wear.
Pattern Notes
- Work all rounds in the back loop only for a nice ridged texture, or work through both loops for a smoother finish. Choose before you start.
- Use a stitch marker to mark the beginning of each round so you don’t lose your place.
- The pattern uses a magic ring to start, but you can substitute a traditional chain-4 and slip stitch if you prefer.
- Weave in ends as you go to avoid a finishing hassle at the end.
- The hat is worked from the crown down, then ears are created separately and sewn on.
Crochet Pattern Instructions
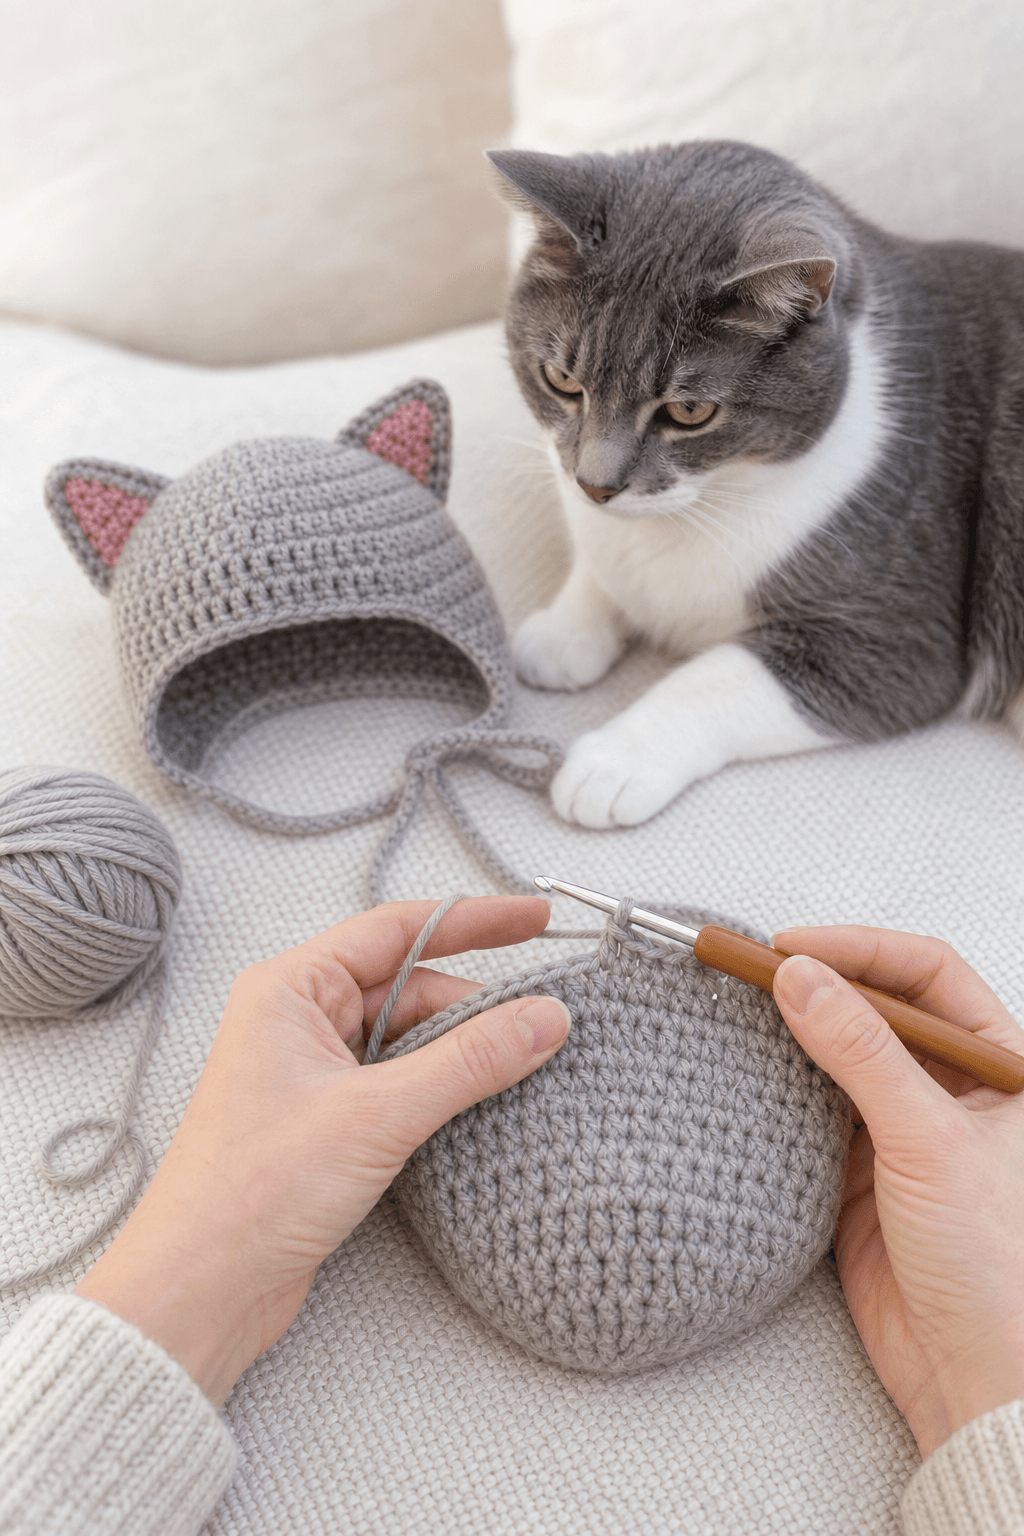
Crown
Begin with a magic ring.
Rnd 1: 6 sc in ring. Do not join. (6)
Rnd 2: 2 sc in each st around. (12)
Rnd 3: 1 sc, 2 sc in next st repeat around. (18)
Rnd 4: 2 sc, 2 sc in next st repeat around. (24)
Rnd 5: 3 sc, 2 sc in next st repeat around. (30)
Rnd 6: 4 sc, 2 sc in next st repeat around. (36)
You’ve now increased to the full width of the head. The hat should fit comfortably around the crown.
Main Body
Rnd 7-13: 1 sc in each st around. (36) Work 7 rounds of even stitches with no increases or decreases. This creates the sides of the hat and gives it height.
After round 13, check the fit. The hat should sit comfortably on the head with a bit of stretch. If you want a longer or shorter hat, add or remove rounds here.
Brim
Rnd 14: 5 sc, 2 sc in next st repeat around. (42) This mild increase creates a slight flare at the brim for a classic beanie shape.
Rnd 15-16: 1 sc in each st around. (42)
Fasten off and weave in the end.
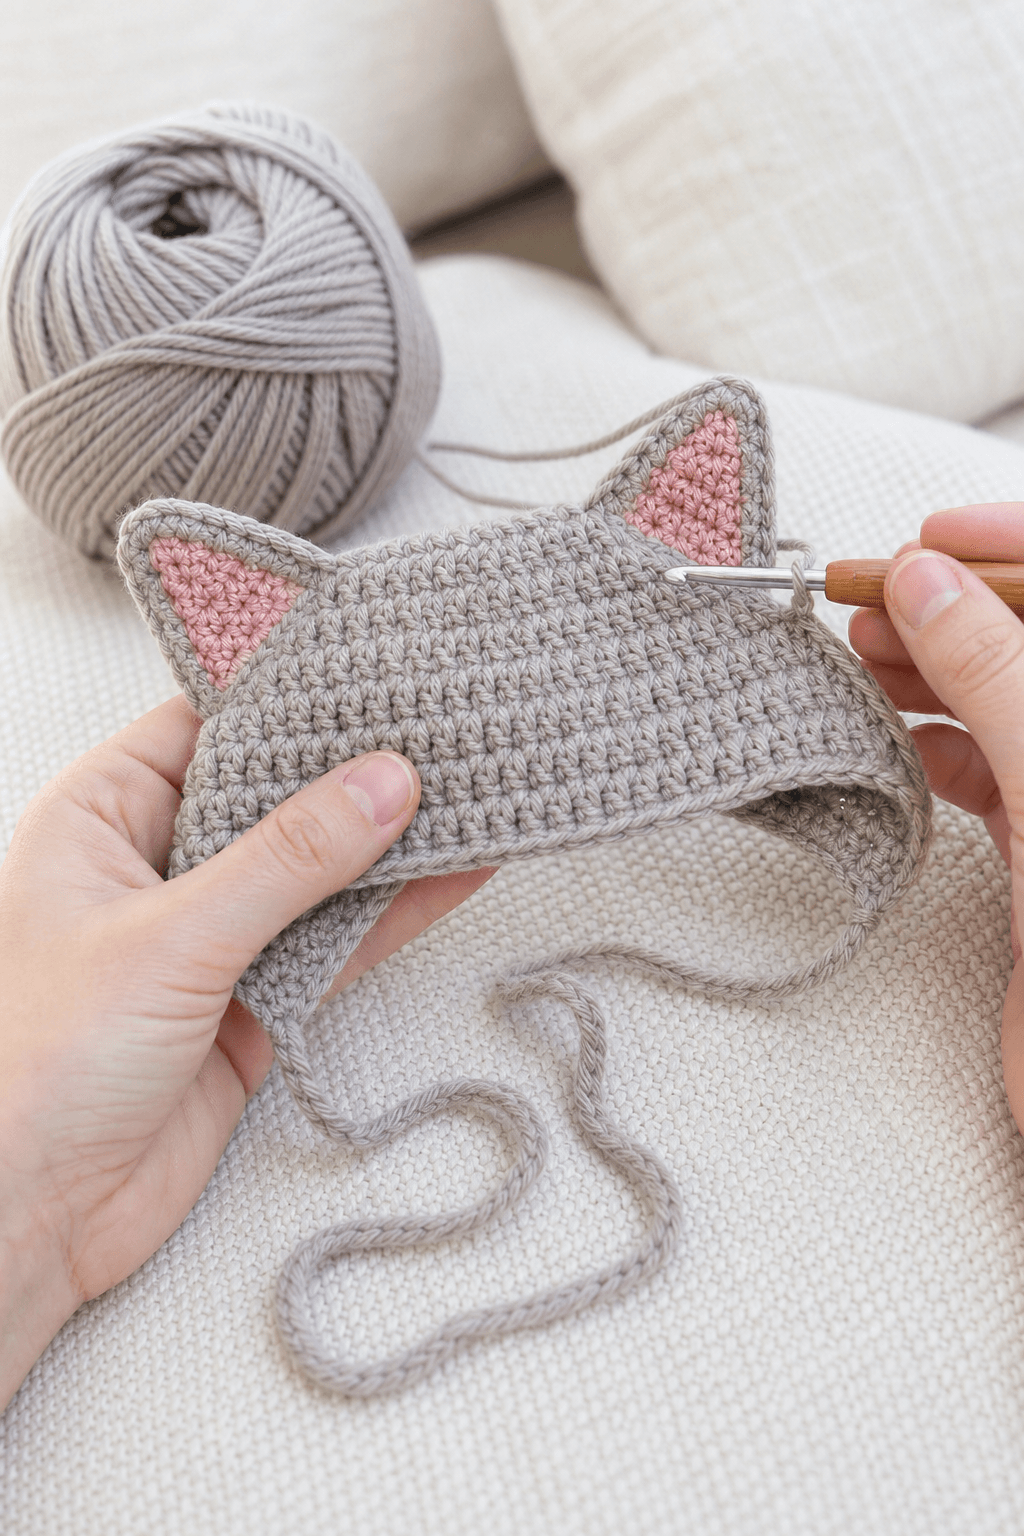
Ears
Make two identical ears. Use contrasting yarn if desired for a pop of color.
With contrasting color, ch 5.
Row 1: 1 sc in 2nd ch from hook, 1 sc in next 3 ch. (4)
Row 2: Ch 1, turn. 1 sc in each st across. (4)
Row 3: Ch 1, turn. Sk 1 st, 1 sc in next 3 st. (3)
Row 4: Ch 1, turn. Sk 1 st, 1 sc in next 2 st. (2)
Row 5: Ch 1, turn. Sk 1 st, 1 sc in last st. (1)
Fasten off, leaving a 6-inch tail for sewing. Fold the ear in half lengthwise with the right side facing out, and sew it closed using the tail.
Make a second ear using the same instructions.
Assembly and Finishing
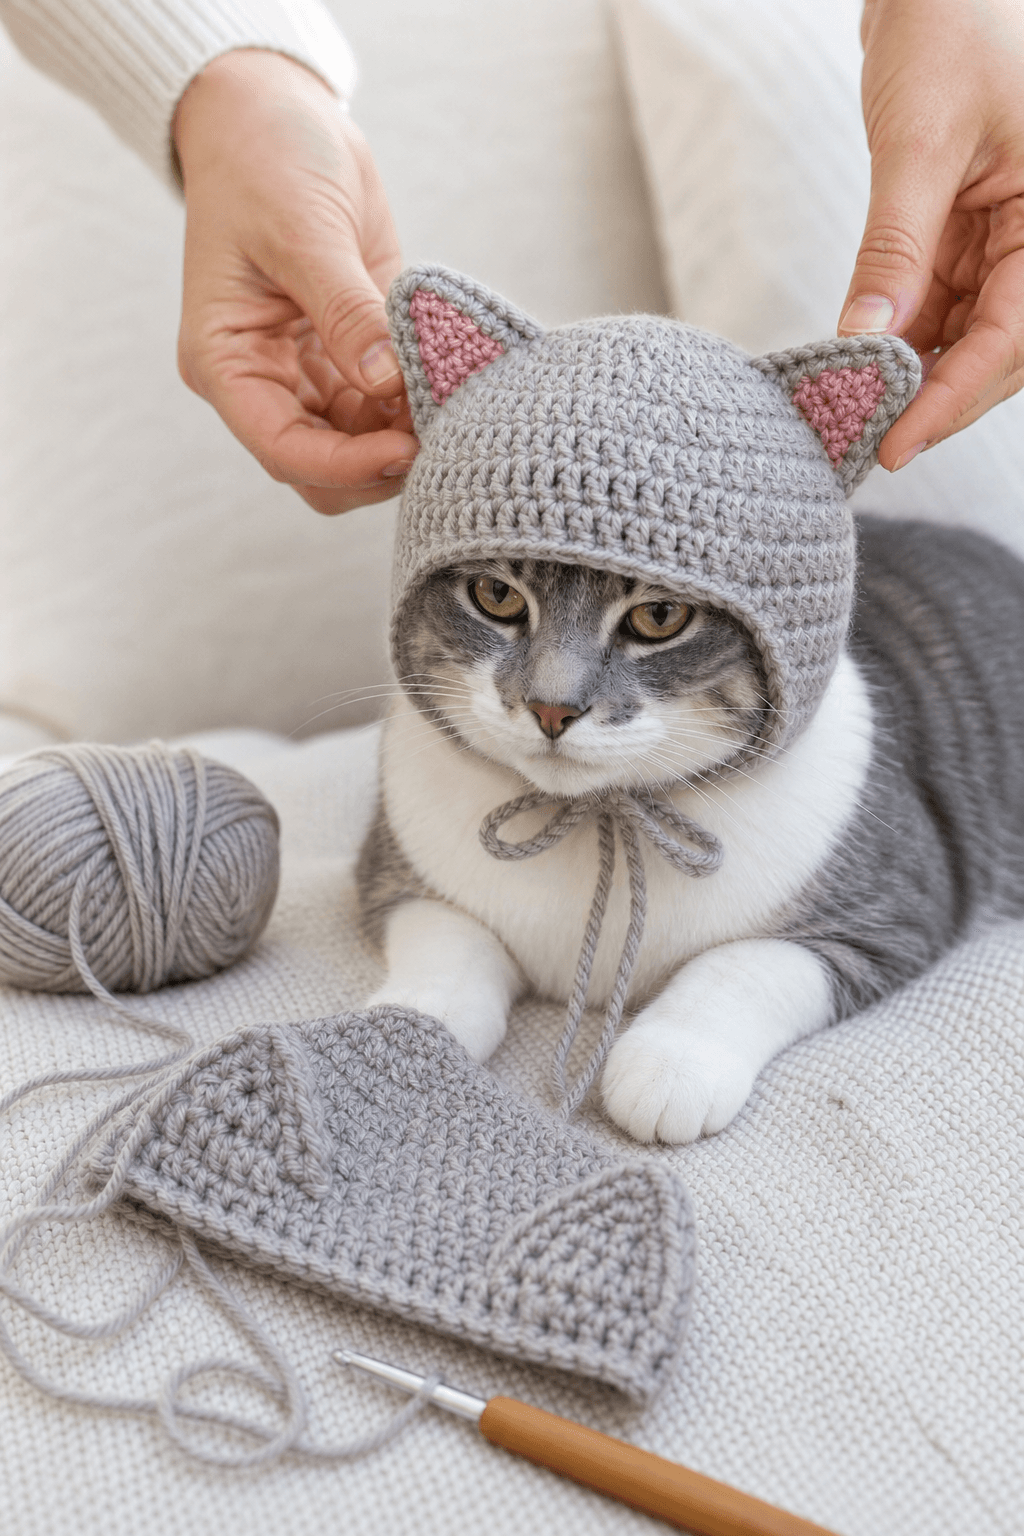
Position the two ears on top of the hat, angling them slightly forward and toward the sides of the crown. They should sit about 1-2 inches apart at the base.
Using your yarn needle and the tails left on each ear, sew the ears securely to the hat using a ladder stitch or whip stitch. Make sure stitches go through several rounds of the hat so the ears won’t pull off during wear.
Weave in any remaining ends.
Add a face by embroidering or gluing on eyes, nose, and mouth. Two small X stitches make simple eyes, a small circle or pom-pom works as a nose, and a curved line creates a smile. You can also use safety eyes if you prefer.
Customization Ideas
- Color variations: Make the hat in any main color and use contrasting yarn for the ears and face details. Pastels, brights, or neutrals all work beautifully.
- Texture: Try a self-striping yarn or change colors every 2-3 rounds for a fun striped cat hat.
- Embellishments: Add a small bell at the tip of each ear for a kitten theme, or glue on felt triangles for eyes and a nose instead of embroidering.
- Yarn weight: Use super bulky yarn (size 6) and a larger hook for a quick adult-sized hat, or fingering weight (size 1) with a smaller hook for a tiny newborn version.
- Sizing: Add 2-3 rounds before the brim for an adult head, or remove 2-3 rounds for a smaller child.
- Ear style: Make longer ears by adding more rows, or experiment with folded-triangle ears made from corner to corner for a different look.
Care Instructions
Hand wash your crochet cat hat in cool water using a gentle wool wash or mild soap. Squeeze out excess water gently without wringing. Lay flat on a clean towel to dry, shaping the ears and crown as needed while damp. Store in a dry place away from direct sunlight to keep colors vibrant. If embellishments like pom-poms or bells are attached, check them periodically to make sure they’re still secure before washing.
Troubleshooting
- Hat is too tight: Check your gauge. If it’s tighter than 12 sc = 4 inches, go up one hook size and restart. You can also add one more increase round (round 6 plus an extra round of increases) to make the hat larger.
- Hat is too loose or floppy: Your gauge may be too loose. Try going down one hook size, or add 2-3 extra rounds to the body to make the hat taller and less baggy.
- Ears won’t stand up: Make sure you fold and sew them securely. If they still flop, insert a small piece of wire or pipe cleaner inside the ear before sewing it closed.
- Hole in the magic ring: If you have a gap in the middle of the crown, pull the yarn tail tighter before working round 1. You can also go back and weave the tail in a spiral to close any gaps.
- Uneven stitches: Work slowly, keep tension consistent, and use a stitch marker. Uneven tension usually smooths out as you practice the pattern.
- Difficulty increasing: Count stitches at the end of each round to make sure you have the right number. If you’re short, you may be skipping or dropping a stitch accidentally.
Making a crochet cat hat pattern is a rewarding project that comes together fast and brings smiles to everyone who sees it. Once you finish your first one, you’ll want to make them in every color and yarn combination you can find. The simple stitches and straightforward construction make this pattern perfect for practicing your round-work skills while creating something truly wearable and adorable.