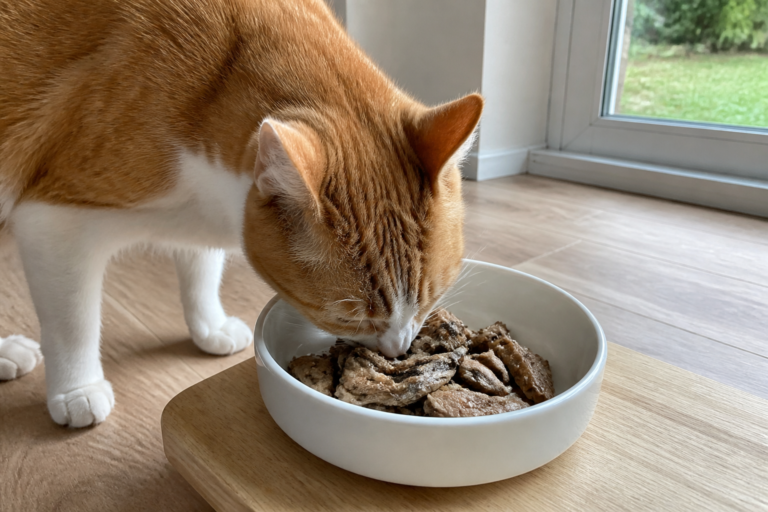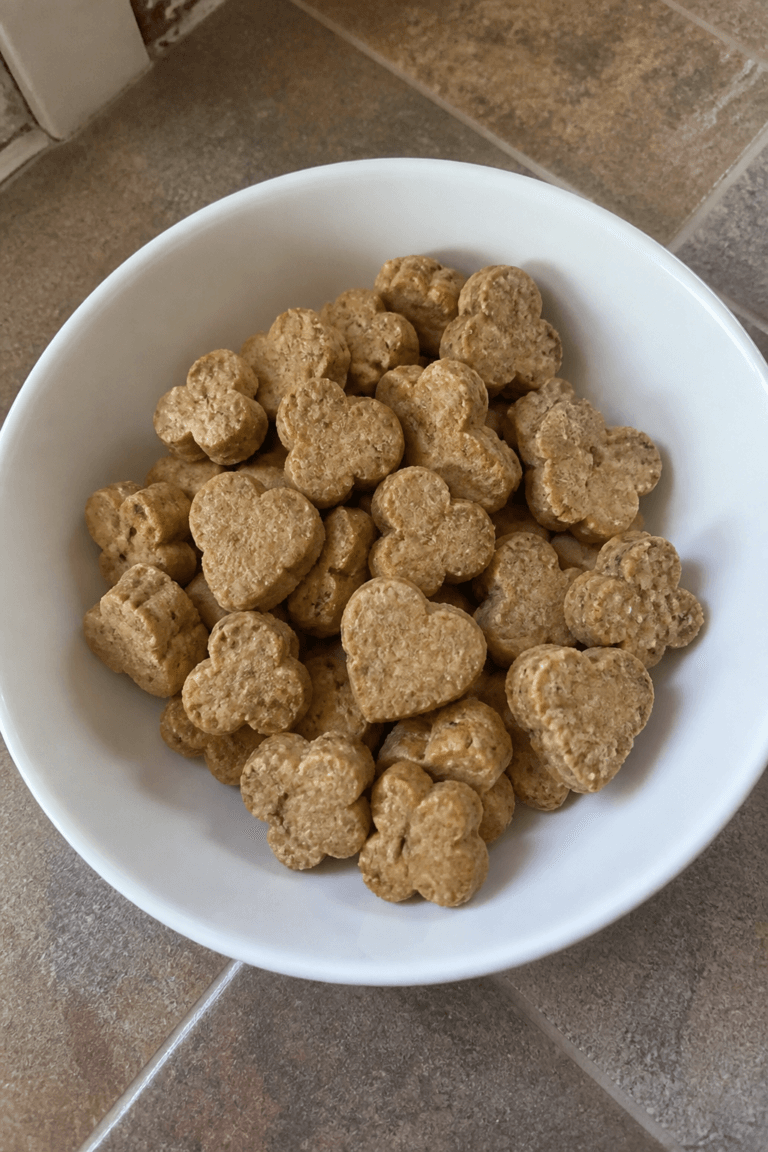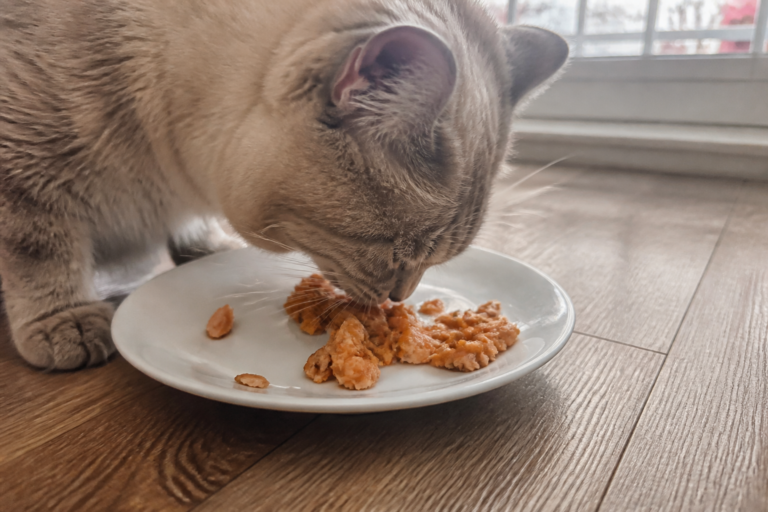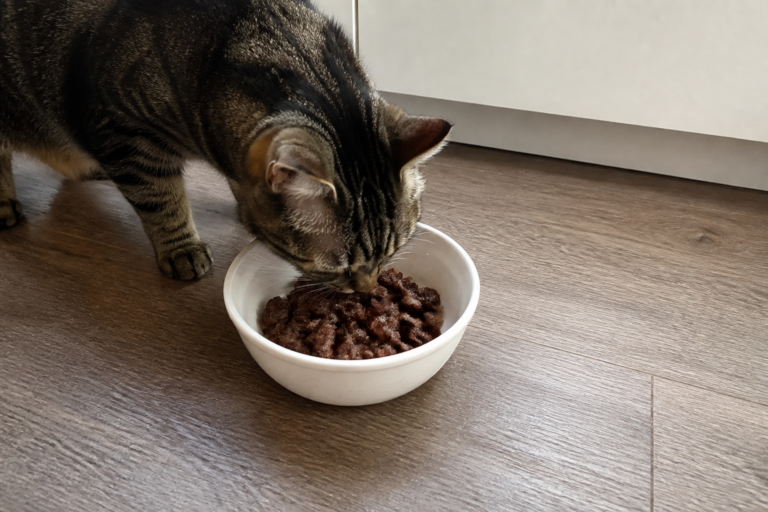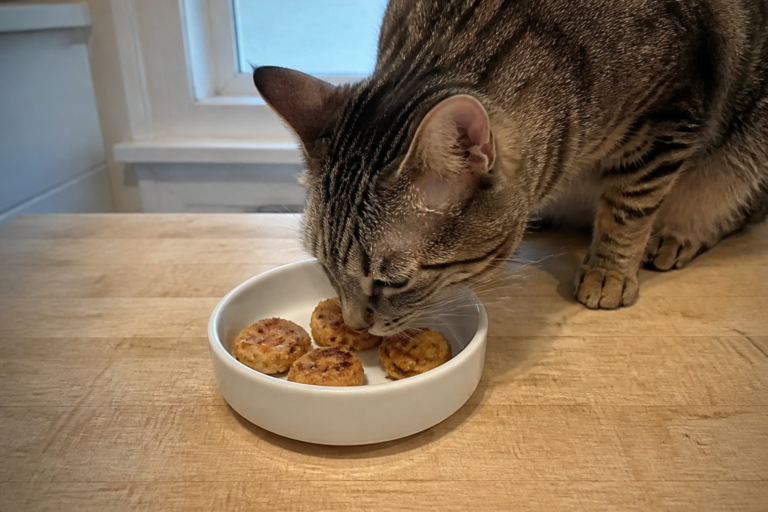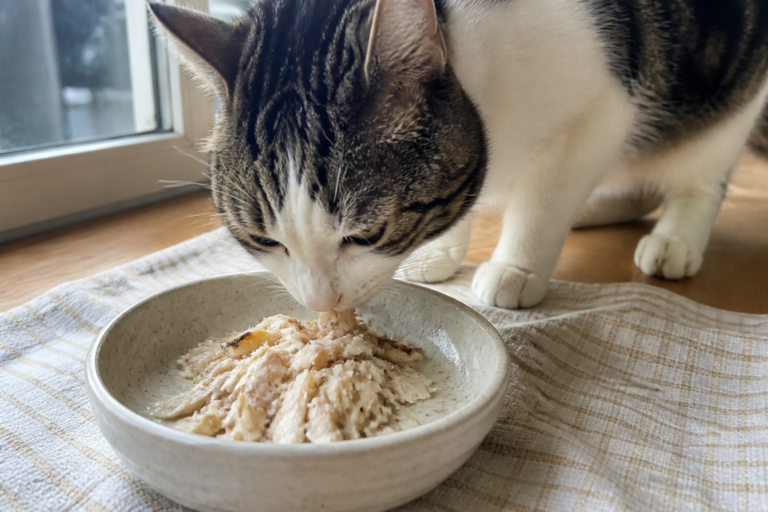
If your cat goes wild for anything with catnip, you are in for a treat. These homemade Chicken Liver and Catnip Crunchy Cat Treats are a simple way to spoil your feline friend without any mystery ingredients. You control exactly what goes into each batch, and the crunchy texture is perfect for helping clean teeth.
Plus, the smell of chicken liver baking is surprisingly pleasant, not overpowering. Let me show you how to make these tiny, crispy bites that your cat will actually thank you for.
What Makes This Special
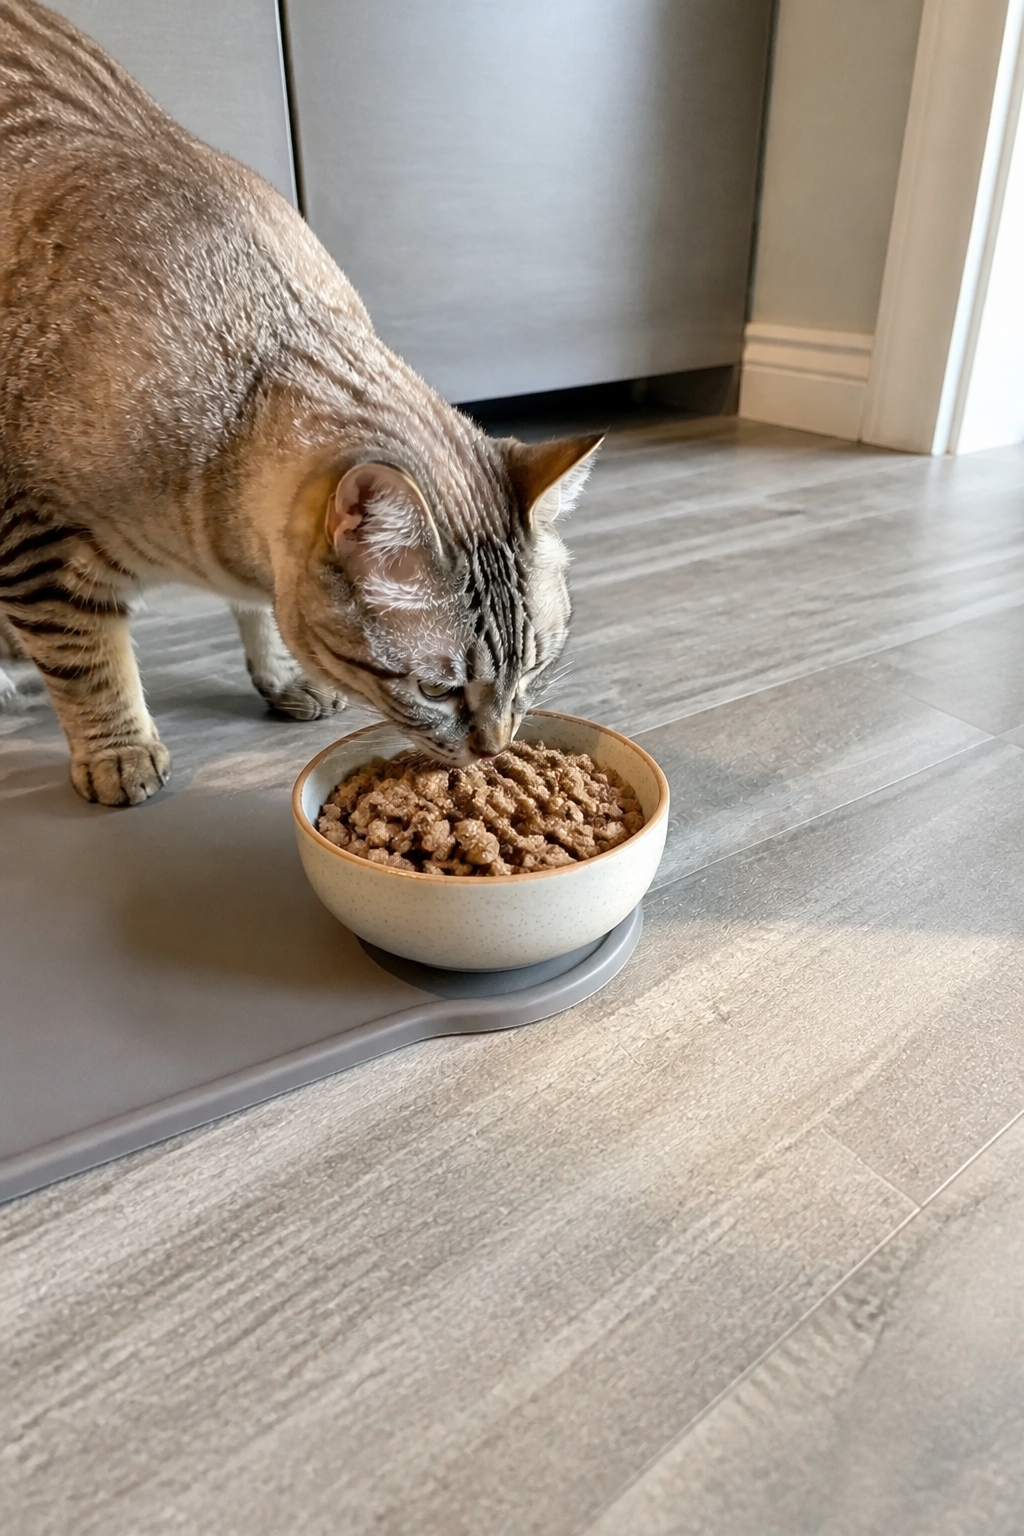
These treats are practical because they use just a few ingredients you probably already have in your kitchen. Chicken liver is packed with protein, iron, and vitamin A, which cats need in their diet.
Catnip adds a fun, natural touch that many cats love, and the baking method creates a shelf stable crunch without any oil or preservatives. Making them at home means no fillers, no weird additives, and no guesswork. It is also a great way to bond with your pet because you are literally cooking for them with love.
What You’ll Need
Here is everything you need for this recipe.
All ingredients are safe for cats when used in moderation.
- 1/2 pound fresh chicken liver (rinsed and patted dry, any dark spots removed)
- 1 large egg (beaten lightly)
- 1/2 cup oat flour (you can grind rolled oats in a blender if needed)
- 2 tablespoons dried catnip (make sure it is pure, with no additives)
- 1 tablespoon water (only if the dough feels too dry)
That is it. No salt, no spices, no garlic or onion. Keep it plain for your cat.
Step-by-Step Instructions
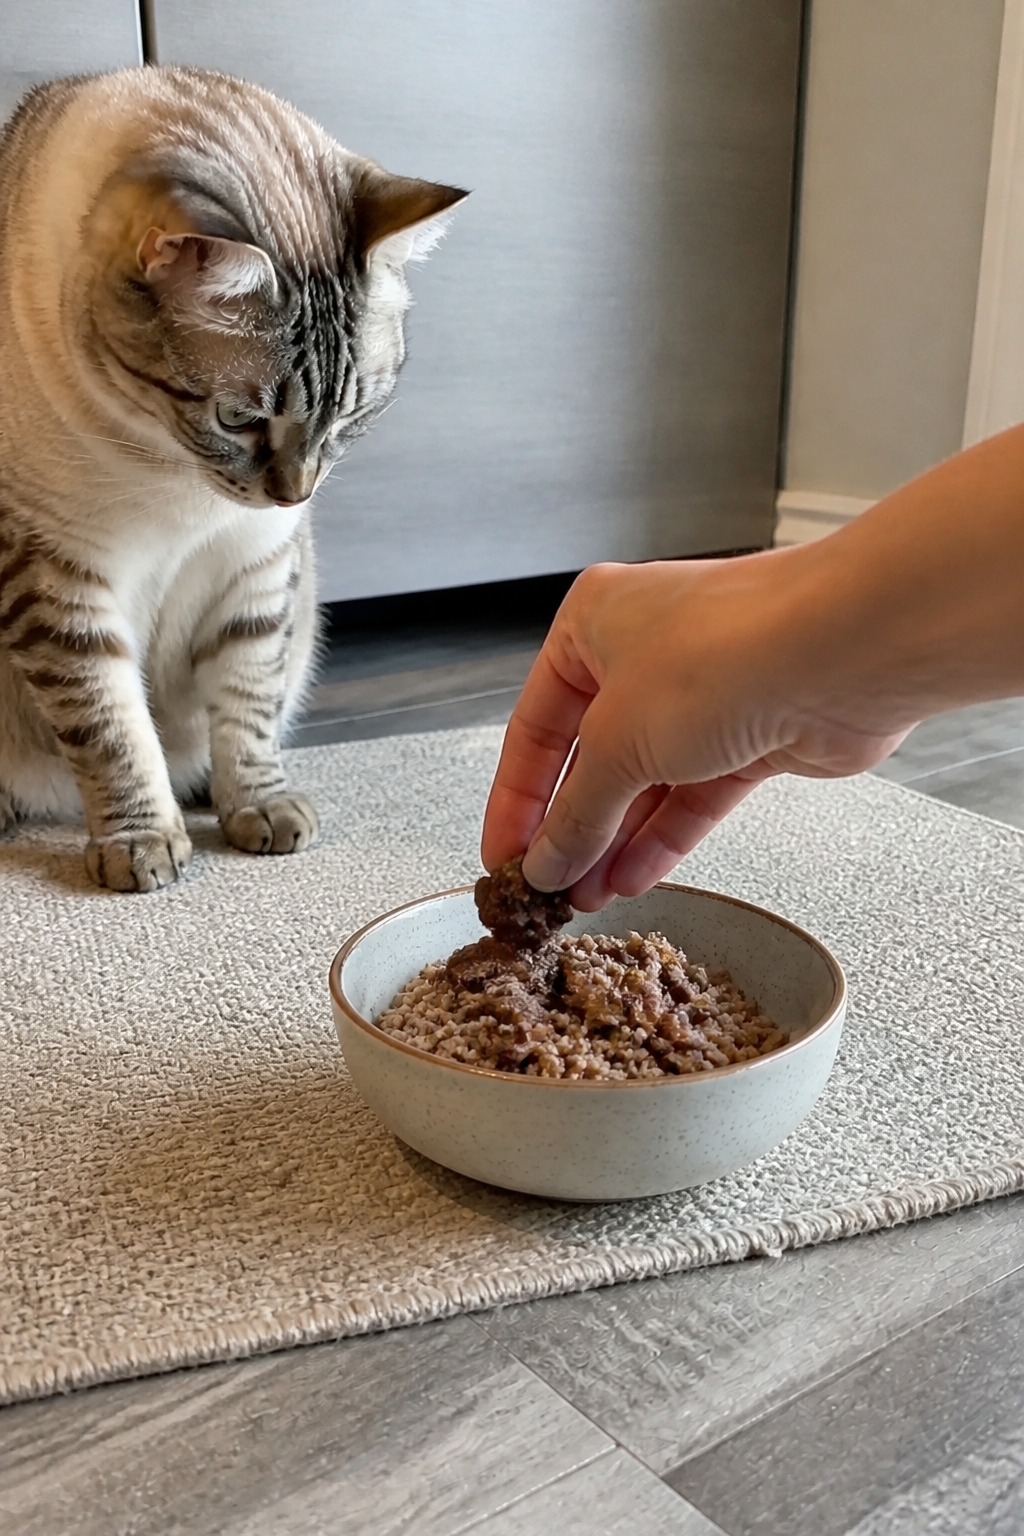
Follow these steps carefully to get the perfect crunchy texture.
- Preheat your oven to 350 degrees Fahrenheit. Line a baking sheet with parchment paper or a silicone mat.
- Cook the chicken liver gently. Place the livers in a small pan with a splash of water.
Cook over medium low heat for about 5 minutes, until they are just cooked through. Do not overcook or they become tough.
- Let the livers cool completely. This is important so the egg does not scramble when you mix.
- Blend the livers. Put the cooled livers into a food processor or blender and pulse until you get a smooth, pate like paste.
- Mix the ingredients. In a bowl, combine the liver paste, beaten egg, oat flour, and dried catnip. Stir until a soft dough forms.
If it feels too sticky, add a tiny bit more oat flour. If too dry, add a teaspoon of water.
- Roll out the dough. On a lightly floured surface (use more oat flour), roll the dough to about 1/4 inch thickness.
- Cut into small shapes. Use a tiny cookie cutter or a knife to make small pieces, about the size of a pea or a little larger. Cats prefer smaller bites.
- Bake for 12 to 15 minutes. Place the treats on the prepared baking sheet.
Bake until they are golden brown and firm to the touch. They will harden more as they cool.
- Cool completely on a wire rack. This can take about 30 minutes. Store only after they are fully cool.
Keeping It Fresh
These treats do not contain preservatives, so storage matters.
Store them in an airtight container in the refrigerator for up to two weeks. If you want them to last longer, you can freeze them for up to three months. Just place the cooled treats in a freezer safe bag and squeeze out as much air as possible.
To serve, take out a few treats and let them thaw for a few minutes at room temperature. Do not leave them out on the counter for more than a day, as liver treats can spoil quickly. For portioning, give your cat no more than 3 to 5 treats per day depending on their size.
Treats should not make up more than 10 percent of your cat’s daily food intake.
Why This is Good for You
This recipe is smart for two reasons: your cat gets high quality protein, and you save money. Chicken liver is one of the most nutrient dense meats you can feed a cat. It is rich in iron, zinc, and B vitamins, which support energy and a healthy coat.
The oat flour provides a gentle source of fiber that helps with digestion when given in small amounts. Catnip is completely safe and can encourage playful behavior or simply make your cat happy. Because you make these at home, you skip the preservatives and fillers found in store bought treats.
You also know exactly how fresh the ingredients are. It is a straightforward way to add variety to your cat’s diet without stressing about hidden risks.
Pitfalls to Watch Out For
Even simple recipes can go wrong. Here are the most common mistakes to avoid. Do not add salt or seasonings. Cats have very different nutritional needs than humans.
Salt can cause sodium ion poisoning in large amounts, and spices like garlic or onion are toxic. Keep the recipe plain. Watch the liver size. Chicken liver is rich in vitamin A. Too much can be harmful over time.
Stick to the recommended amount and do not feed these treats daily. Think of them as a special reward. Do not replace oat flour with wheat flour if your cat has grain sensitivities. Oat flour is naturally gluten free and lighter. If you use another flour, check that it does not contain any additives. Overbaking makes treats rock hard. Cats have delicate mouths.
If you bake too long, the treats become too crunchy and could hurt their gums. Follow the 12 to 15 minute guideline and check for a light golden color. Never use raw liver. Always cook it first to kill any bacteria. Raw liver can carry salmonella or other pathogens that affect both cats and humans.
Recipe Variations
You can easily switch things up to keep your cat interested. Protein swap: Use chicken hearts, turkey liver, or duck liver instead of chicken liver.
Each has a slightly different taste and texture. Just cook them the same way. No catnip? If your cat does not react to catnip, you can skip it or replace it with dried parsley. Parsley is safe for cats in small amounts and adds a bit of freshness. Texture twist: For a chewier treat, reduce the baking time by 2 minutes.
For extra crunch, add another minute or two, but watch carefully so they do not burn. Add a dash of pumpkin: Mix in 1 tablespoon of plain canned pumpkin (not pie filling) for extra fiber and a different flavor. This works well for cats with sensitive stomachs.
FAQ
How many of these treats can I give my cat per day?
Start with 2 or 3 small treats per day for an average sized adult cat. Adjust based on your cat’s weight and overall diet.
Treats should never replace a balanced meal.
Can I use wheat flour instead of oat flour?
Yes, you can use whole wheat flour or white flour, but oat flour is easier to digest for some cats. If your cat has no grain issues, wheat flour is fine. Just avoid any flavored or seasoned flours.
How long do these treats last at room temperature?
They should not be left out for more than 8 hours.
Because they contain liver and egg, they can spoil. Always refrigerate or freeze them for safety.
Is catnip safe for all cats?
Catnip is safe for most cats, but about 30 to 50 percent of cats do not react to it at all. It is not harmful, just ineffective for some.
You can still use it as a flavoring, or leave it out.
Can I use raw chicken liver?
No. Always cook the liver first to eliminate bacteria like salmonella. Raw liver also has a strong taste that many cats dislike.
Cooking makes it safer and more palatable.
My treat dough is too sticky. What should I do?
Add a little more oat flour, one teaspoon at a time, until the dough is firm enough to roll. If it is too dry, add a teaspoon of water.
The texture should be similar to soft cookie dough.
Wrapping Up
Making your own cat treats is easier than you think, and these Chicken Liver and Catnip Crunchy Cat Treats are a perfect starting point. They are simple, nutritious, and designed to make your cat happy. Plus, you get the peace of mind that comes from knowing exactly what is in every bite.
Give them a try this weekend and watch your cat perk up with excitement. Your efforts will be rewarded with purrs and happy headbutts.