Trimming your dog’s nails at home can feel intimidating, especially if you are a first-time pet owner.
But with the right tools, a calm approach, and a little practice, dog nail trimming becomes a stress-free part of your regular pet grooming routine.
In this guide, we will walk you through everything you need to know to do it safely and confidently.
Why Regular Nail Trimming Matters for Dogs
Long dog nails are more than just a cosmetic concern. When nails grow too long, they press against the floor and push back into the paw, which causes pain and affects your dog’s posture.
Over time, this can lead to joint problems, especially in older dogs.
Here is what can go wrong when nails are left untrimmed for too long:
- Nails press against the floor and push back into the paw, causing pain
- Your dog’s posture and gait start to shift over time
- Long-term joint problems can develop, especially in senior dogs
- Nails can curl and grow into the paw pad, requiring a vet visit
Regular nail maintenance helps prevent all of these issues and keeps your dog walking comfortably.
As a general rule, if you can hear your dog’s nails clicking on a hard floor, it is time for a trim.
Tools You Need Before You Start
Having the right equipment makes the process easier and safer for both you and your dog.
| Tool | Purpose |
|---|---|
| Dog nail clippers (scissor or guillotine style) | The main cutting tool |
| Styptic powder | Stops bleeding if you cut the quick |
| Nail file or grinder | Smooths sharp edges after clipping |
| Dog treats | Positive reinforcement during the process |
| Flashlight or bright lamp | Helps you see the quick in dark nails |
A few things to keep in mind when choosing your tools:
- Use scissor-style clippers for large breeds
- Use guillotine clippers for small to medium dogs
- A nail grinder is a good alternative for dogs who are scared of clippers
- Always make sure your clippers are sharp before starting

- 𝐖𝐡𝐢𝐬𝐩𝐞𝐫 𝐐𝐮𝐢𝐞𝐭 & 𝐒𝐭𝐫𝐞𝐬𝐬-𝐅𝐫𝐞𝐞 𝐆𝐫𝐨𝐨𝐦𝐢𝐧𝐠: Ultra-quiet and low-vibration design keeps sensitive dogs Cats calm. No more fear,…
- 𝟑 𝐃𝐢𝐚𝐦𝐨𝐧𝐝 𝐆𝐫𝐢𝐧𝐝𝐢𝐧𝐠 𝐁𝐢𝐭𝐬 𝐟𝐨𝐫 𝐀𝐥𝐥 𝐁𝐫𝐞𝐞𝐝𝐬: Soft grinding bit gently removes sharp edges and delivers a smooth finish. Hard …
- 𝐁𝐮𝐢𝐥𝐭-𝐢𝐧 𝐁𝐫𝐢𝐠𝐡𝐭 𝐋𝐄𝐃 𝐋𝐢𝐠𝐡𝐭 𝐟𝐨𝐫 𝐌𝐚𝐱𝐢𝐦𝐮𝐦 𝐒𝐚𝐟𝐞𝐭𝐲: Built-in high-brightness LED clearly illuminates the quick to prevent over…
Understanding the Quick
Before you start cutting, you need to understand the quick, which is the pink blood vessel and nerve inside your dog’s nail. Cutting into it causes pain and bleeding.
Here is how to identify it based on your dog’s nail color:
- Light-colored or white nails: The quick is easy to spot as a pink area inside the nail
- Dark or black nails: Trim in small increments and look at the cross-section after each cut. When you see a small, dark circle appear in the center, stop — you are close to the quick
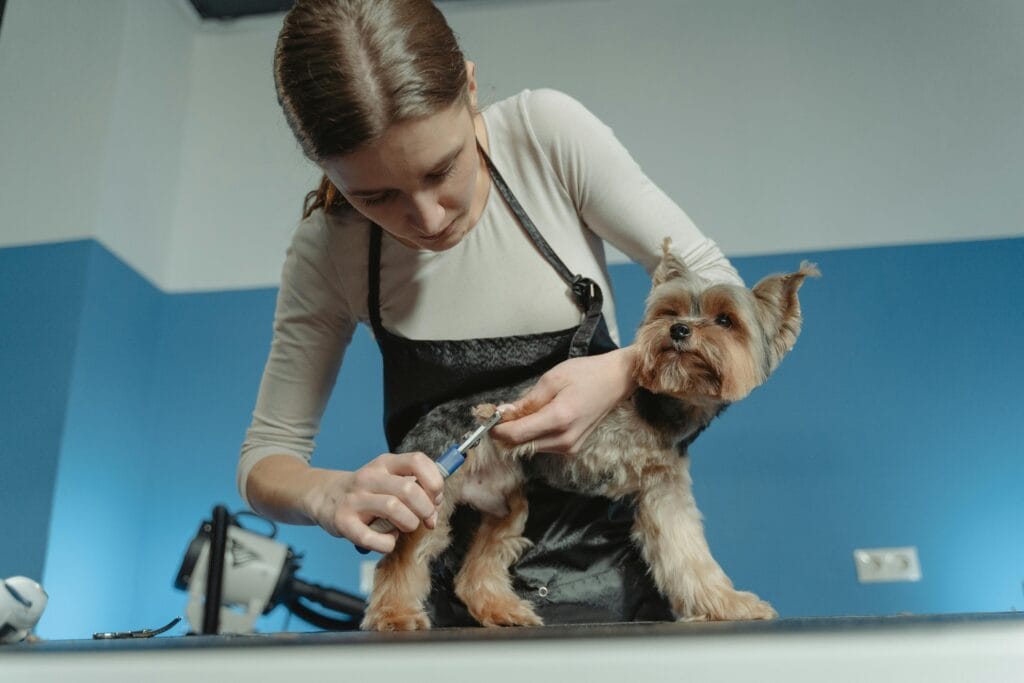
How to Cut Dog Nails at Home: Step-by-Step
Step 1: Get Your Dog Comfortable
Start by handling your dog’s paws regularly, even when you are not trimming.
This gets them used to having their feet touched. Offer treats and praise to build a positive association with paw handling.
- Handle your dog’s paws daily in the weeks before you start trimming
- Offer treats and praise every time you touch their paws
- Choose a trimming time when your dog is calm, such as after a walk or a meal
- Avoid trimming when your dog is excited or restless
Step 2: Position Your Dog Properly
Getting the right position makes the whole process smoother and safer.
- Place small dogs on a table or your lap
- Have large dogs sit or lie down on the floor
- Ask a helper to gently hold the dog while you trim if needed
- Make sure you have good lighting so you can see each nail clearly
Step 3: Hold the Paw and Clip
- Hold your dog’s paw firmly but gently
- Push the fur back from around the nail
- Position the clippers at a 45-degree angle
- Make a smooth, swift cut without squeezing or crushing the nail
- Trim only the tip, a few millimeters at a time, especially on dark nails
- Reward your dog with a treat after each paw
Step 4: Handle the Quick if Accidentally Cut
If you accidentally cut the quick, follow these steps:
- Stay calm and do not panic – your dog will pick up on your energy
- Apply styptic powder directly to the nail tip
- Hold gentle pressure for a few seconds
- Wait for the bleeding to stop, which usually takes one to two minutes
- Comfort your dog before deciding whether to continue
Step 5: File the Edges
After clipping, use a nail file or grinder to:
- Smooth any rough or sharp edges left by the clippers
- Prevent nails from snagging on fabric or carpet
- Avoid scratches on your floors and skin
How Often Should You Trim Dog Nails?
Most dogs need a nail trim every 3 to 4 weeks. Dogs who walk on hard surfaces like concrete may naturally wear their nails down and need less frequent trimming.
Dogs who spend most of their time indoors or on soft surfaces tend to need more regular trimming.
| Dog Activity Level | Recommended Trimming Frequency |
|---|---|
| Mostly indoors | Every 2 to 3 weeks |
| Mix of indoor and outdoor | Every 3 to 4 weeks |
| Very active, walks on pavement | Every 4 to 6 weeks |
Tips to Make the Experience Easier
- Always use sharp clippers because dull blades crush the nail instead of cutting cleanly
- Trim after a bath when nails are softer and easier to cut
- Keep styptic powder within reach every single time
- Break the session into smaller parts if your dog gets anxious, doing one paw at a time
- Give high-value treats like small pieces of chicken to make nail trimming a positive experience
- End every session on a good note, even if you only managed one or two paws
With patience and consistency, most dogs learn to tolerate and even accept regular at-home nail care. The key is to go slow, stay calm, and always end each session on a positive note.