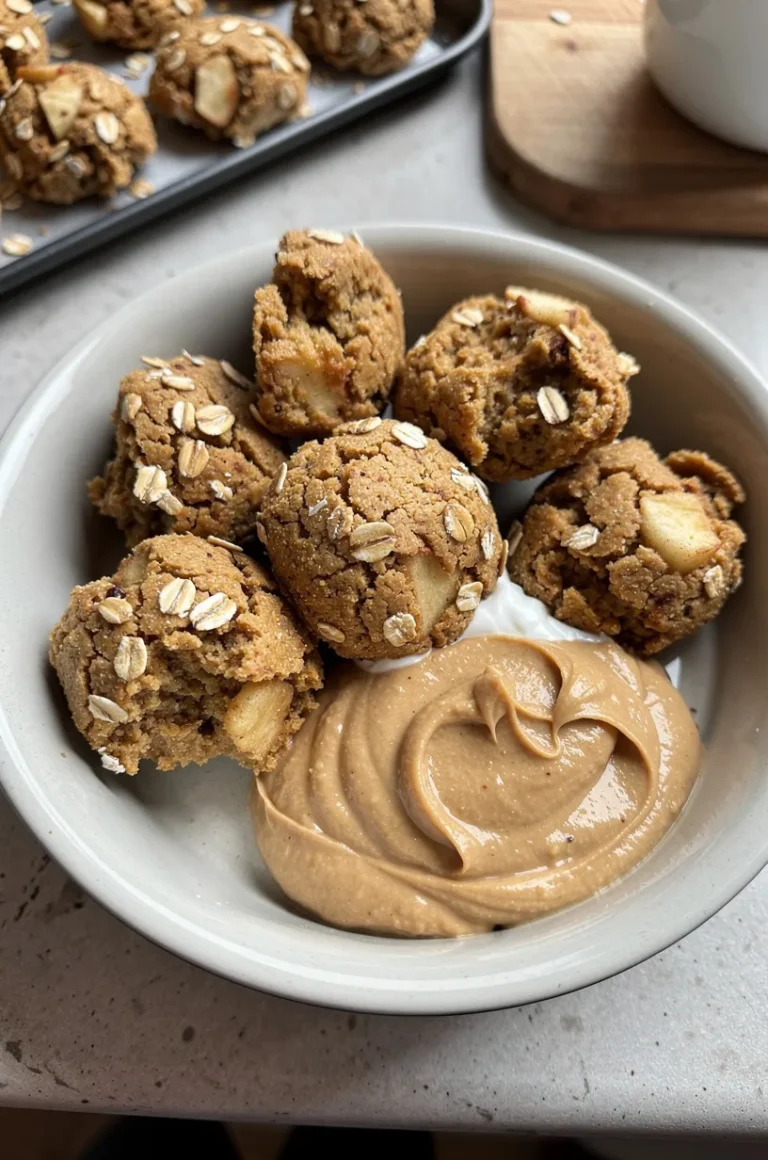
Banana, oats, and peanut butter. That simple. These homemade dog biscuits taste great, require zero fancy equipment, and use ingredients most of us already keep in the pantry.
Ready in under an hour, they make a perfect training treat or crunchy snack that won’t upset your pup’s tummy.
Ingredients
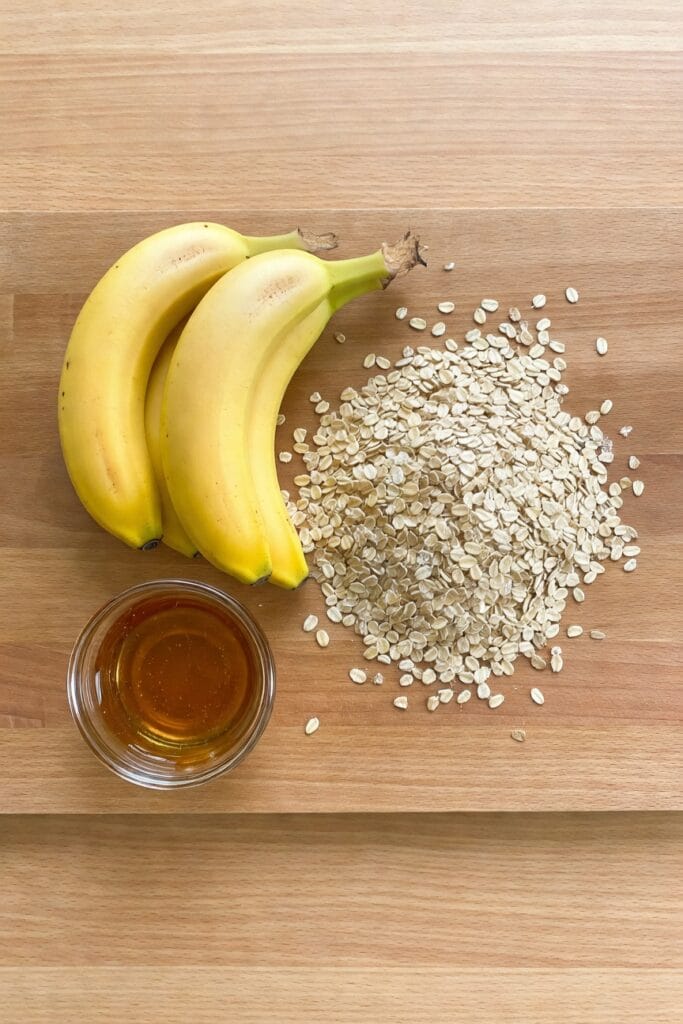
Here’s all you need to make these treats. Super simple, super safe.
- 1 ripe banana, mashed
- 1 cup rolled oats (old-fashioned)
- 1/2 cup unsweetened, xylitol-free peanut butter
Notes on the ingredients:
– Use unsweetened peanut butter and check the label carefully. Xylitol kills dogs, so avoid any peanut butter that lists it.
– Rolled oats give a better texture than instant oats, but you can pulse instant oats in a food processor if that’s what you have.
– Ripe bananas add natural sweetness and moisture, no sugar needed.
Nutritional Benefits for Dogs
Why choose these three ingredients? They do more than taste good.
- Bananas provide potassium and fiber, which support digestion and muscle function.
- Oats offer complex carbohydrates and soluble fiber, which help steady blood sugar and soothe sensitive stomachs.
- Peanut butter supplies healthy fats and a little protein, plus it makes the biscuits irresistible to most dogs.
Who should avoid these treats?
Dogs with peanut or banana allergies should skip this recipe.
Also, if your dog needs a very low-fat diet for medical reasons, consult your vet before adding peanut butter treats to their routine.
Preparation Steps
You’ll get crunchy biscuits without a bakery degree. Follow these simple steps.
- Preheat your oven to 350°F (175°C). Line a baking sheet with parchment paper.
- In a bowl, mash the banana until smooth. Stir in the peanut butter until well combined.
- Add the oats and mix until you form a sticky dough. If it feels too wet, add a tablespoon of oats at a time.
- Scoop tablespoon-sized portions onto the baking sheet, then press flat with a fork or your palm. Leave a little space between each.
- Bake for 20-25 minutes, until the edges turn golden brown and the biscuits feel firm.
- Cool completely on a wire rack. They crisp up as they cool.
Tip: Want fancy shapes? Roll the dough between two sheets of parchment to about 1/4-inch thickness and use cookie cutters. Pressed cookies bake faster, so check them after 12-15 minutes.
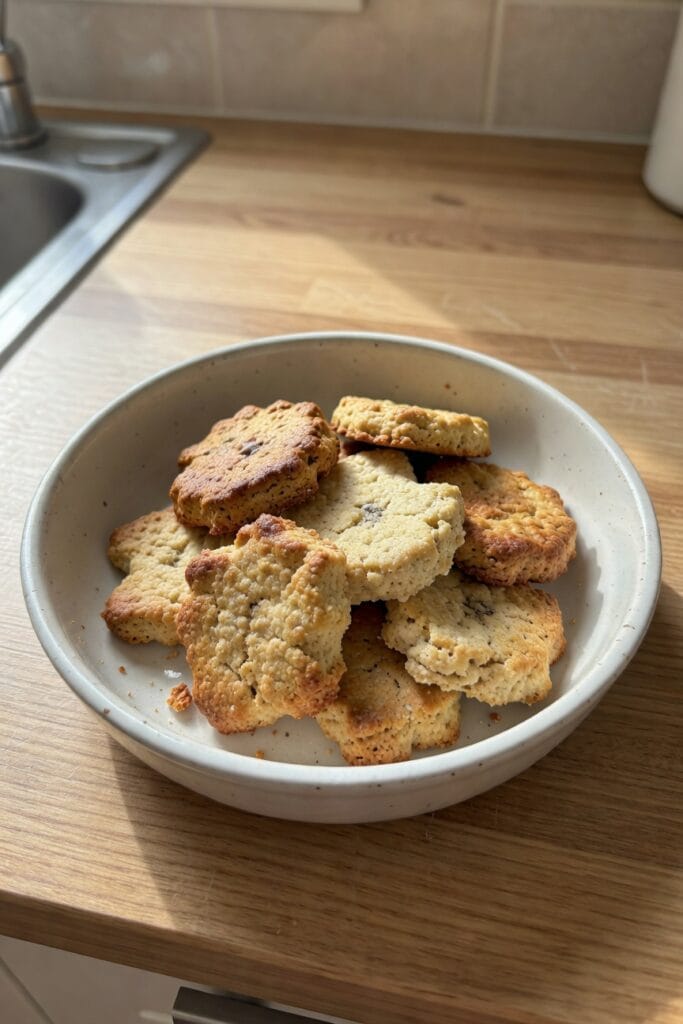
Texture and Modifications
These biscuits come out crunchy on the outside and slightly chewy inside, depending on bake time.
- For crunchier treats, bake 5-10 minutes longer and let them air-dry overnight.
- For softer training treats, make smaller dollops and reduce baking time to 10-12 minutes.
- If your dog has trouble chewing, press the dough thin and bake longer to make them crisp but easy to crumble.
Swap ideas that still stay safe
- Substitute mashed applesauce for banana if your dog prefers it. No added sugar.
- Swap some oats for finely ground oatmeal flour to get a smoother dough.
- Add a teaspoon of cinnamon for flavor, but avoid nutmeg and other spices that may harm dogs.
Serving Suggestions
How do you use these biscuits? Plenty of ways.
- Use them as training rewards during short sessions. Break them into tiny pieces for frequent reinforcement.
- Toss one in your pup’s toy or puzzle feeder for a fun snack challenge.
- Offer a whole biscuit after a long walk as a special treat. Keep portion sizes in mind, especially for smaller dogs.
Remember portion control. These treats contain calories, so adjust your dog’s meals accordingly.
For small breeds, one biscuit might equal a full meal’s worth of treat calories if you overdo it.
Storage Tips
Keep them fresh and crunchy with a few easy steps.
- Store cooled biscuits in an airtight container at room temperature for up to 7 days.
- For longer storage, freeze them in a zip-top bag for up to 3 months. Thaw at room temperature or pop into a low oven for a minute to restore crunch.
- If biscuits ever smell off or show mold, toss them. Don’t risk your dog’s health.
Reheating and serving from frozen
Frozen biscuits make excellent long-lasting treats. Let them thaw for a few minutes, or warm them 5-10 seconds in the microwave to soften for older dogs.
I use thawed ones as bait for rainy-day training sessions. FYI, pups love the smell.
Safety and Ingredients to Avoid
I care about dogs’ safety, and you should too. These are safe basics, but watch for hazards.
- Never use peanut butter with xylitol. Always check labels.
- Avoid adding chocolate, raisins, grapes, macadamia nuts, onion, garlic, or artificial sweeteners. These ingredients are toxic to dogs.
- If your dog has pancreatitis or needs a low-fat diet, skip or limit peanut butter. Ask your vet for a suitable substitute.
FAQs
How many biscuits can I give my dog per day?
Portion size depends on your dog’s size and calorie needs. For small dogs, 1-2 small biscuits per day is plenty. Medium dogs can have 2-4. Large dogs might enjoy 4-6. Adjust total daily calories so treats make up no more than 10% of daily intake.
Can puppies eat these treats?
Yes, puppies can eat these ingredients, but keep pieces small and monitor for choking. Use softer, underbaked biscuits while teeth are still developing. If your vet recommends a specific diet for your puppy, follow that guidance first.
Can I use almond butter or other nut butters?
Almond butter works if it does not contain xylitol and your dog tolerates it. Some nut butters contain more fat than peanut butter, so use sparingly. Avoid macadamia nut products entirely, as they harm dogs.
My dog has a sensitive stomach. Will oats cause issues?
Oats usually digest well and soothe sensitive stomachs thanks to soluble fiber. If your dog has a grain allergy, switch to a grain-free alternative like oat-free oat flour substitutes approved by your vet, or test small amounts and watch for reactions.
Can I add supplements or vitamins to the dough?
Yes, you can mix in powdered supplements recommended by your vet. Make sure any additions are dog-safe and do not add extra sweeteners. Balance the recipe so the dough still holds together.
How do I make these into training-size treats?
Press the dough thin before baking, then cut into tiny squares or use a small cookie cutter. Alternatively, bake full-size and break into pieces after cooling. Tiny pieces speed up training sessions without overfeeding.